OpenID Connect
Create and manage OpenID Connect (OIDC) authentication configurations for your organization. OIDC provides greater security guarantees in service communications than basic authentication using client credentials and is the preferred way to authenticate with the Pismo platform.
Together with OIDC authentication, the Pismo platform uses API permission groups to control access to the Pismo APIs. All OIDC authentication configurations must have at least one permission group applied. For more information, refer to Permission groups.
Role requirementsOnly users with the Admin role can create and manage OIDC authentication configurations.
Updating existing configurationsExisting OIDC authentication configurations that do not have any applied permission groups operate without restrictions. However, once you apply permission groups to an unrestricted configuration, you can only generate a JSON Web Token (JWT) for the applied groups.
Updating an unrestricted configuration to use only specific permission groups can affect live integrations. If you attempt to generate a JWT that specifies a permission group that is not applied to the configuration, you will receive a 403 Forbidden error response.
To avoid an interruption in service, before you update the permission groups for an unrestricted configuration, identify all permission groups currently used by the integration and make sure they're applied to the configuration.
Dual approvalIf your company is using the dual approval feature (beta release), creating, editing, or deactivating an OpenID authentication configuration requires approval. With dual approval, you initiate the change and submit a request for approval. A second person must review and approve it. The change doesn't take effect until the request is approved.
For more information about dual approval, refer to Dual approval.
For more information about using OIDC with the Pismo platform, refer to Authentication with OpenID Connect.
View OIDC authentication configurations
To view the list of OIDC authentication configurations and explore a configuration in more detail, do the following:
- From the main menu, select Users & permissions > OpenID Connect.
- On the OpenID Connect screen, select a configuration.
The OpenID Connect details screen is displayed, divided into the following tabs:- OpenID Connect configuration—Provides an overview of the configuration, including key identity and verification details, metadata, status, and editing capabilities.
- Permission groups—Displays a list of the permission groups applied to the configuration and gives you the option to edit them.
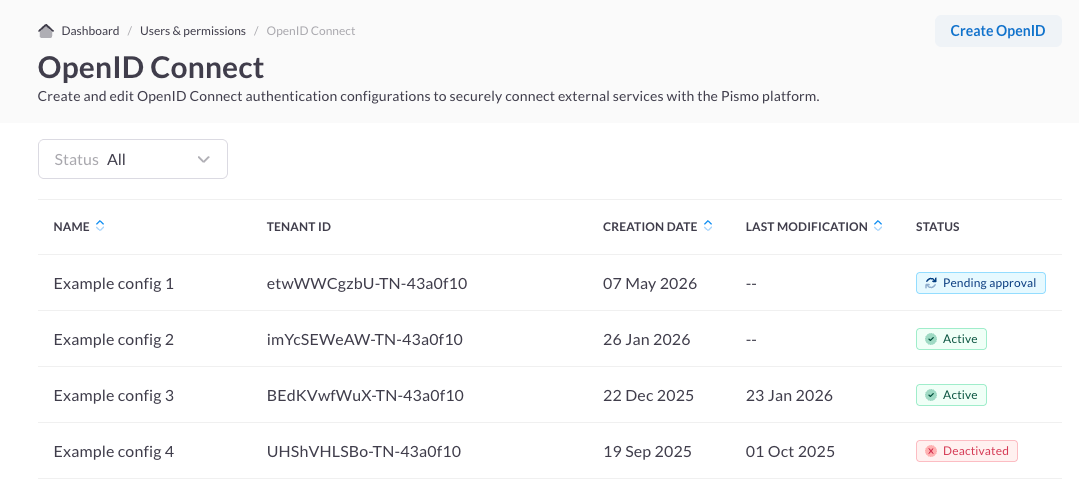
The OpenID Connect screen displays the list of OIDC authentication configurations for your organization. Each configuration is assigned a tenant ID, a unique identifier generated by the Pismo platform when the configuration is created.
A configuration can have one of the following statuses:
- Active—The configuration is in use.
- Deactivated—The configuration was deactivated and is no longer available.
- Pending approval (dual approval only)—A change was made to the configuration and is pending approval.
Create an OIDC authentication configuration
Create an OIDC authentication configuration to enable secure, token-based access to the Pismo APIs when you need to:
- Integrate a backend service or external application with the Pismo platform
- Configure permissions for internal users
- Define access rules for a new environment or organization
To create an OIDC authentication configuration, do the following:
- On the OpenID Connect screen, select Create OpenID.
- On the Name & public key encoding screen, enter a name and provide your public key.
For more information on how to generate a public/private key pair, refer to Server authentication. - Select Next.
- On the Permission groups screen, select the permission groups you want to apply to the configuration, and select Next.
Note: You must select at least one permission group to continue. - Review the configuration details and select Finish.
Manage OIDC authentication configurations
From Control Center, you can do the following:
Edit an OIDC authentication configuration
Edit your OIDC authentication configuration details to keep them aligned with your organization's evolving security and access requirements. You can edit the name, public key, and applied permission groups.
You may need to edit a configuration when:
- Updating the configuration name to reflect a change in scope
- Updating an incorrect public key
- Aligning API access with updated integration or security requirements
Updating permission groupsYou can generate a JWT only for permission groups that are applied to the configuration. When you edit the permission groups applied to a configuration and attempt to generate a JWT that specifies permission groups that aren't applied to the configuration, you will receive a 403 Forbidden error response.
To edit the name or public key, do the following:
- On the OpenID Connect screen, select an active configuration.
- On the OpenID Connect configuration tab, select the edit icon for the attribute you want to edit.
- Update the value and select Save.
To edit the applied permission groups, do the following:
- On the OpenID Connect screen, select an active configuration, and select the Permission groups tab.
- Select Edit groups, configure your permission groups, and select Save.
Deactivate an OIDC authentication configuration
Deactivate an OIDC authentication configuration to permanently remove it from use. This is typically done when a configuration is no longer needed, for example, when it's being replaced by a newer version or must be disabled for security or access control reasons. Deactivated configurations remain in the list, to aid in traceability and auditing.
Deactivating a configurationA configuration cannot be deleted, only deactivated.
When you deactivate a configuration, you won't be able to reactive it. If you need access again, you must create a new configuration.
To deactivate an OIDC authentication configuration, do the following:
- On the OpenID Connect screen, select an active configuration.
- On the OpenID Connect configuration tab, select the Active status toggle, and confirm your choice.
Updated 1 day ago