AWS EventBridge event configuration tutorial
This guide steps you through configuring AWS EventBridge to deliver SNS events for the Pismo platform. EventBridge is a serverless event bus that lets you receive, filter, transform, route, and deliver events.
To configure EventBridge, you must configure an event bus and an Identity and Access Management (IAM) role.
-
The event bus is a pipeline that receives events from a variety of sources (including AWS services and external partner applications and services) and matches them to rules configured in your AWS account.
-
The IAM role is an entity that you create in your AWS account that has specific permissions. It is similar to an IAM user, in that it uses permission policies that determine what the identity can and cannot do in AWS. However, unlike an IAM user, an IAM role can be assumed temporarily by anyone who needs it.
After configuring the event bus and IAM role, your Pismo representative will work with you to complete the configuration.
Prerequisites
-
Your AWS account ID
-
Your Pismo organization ID (also known as the tenant ID)
-
AWS data account ID (provided by Pismo)
Configure EventBridge bus
-
Log in to Amazon Web Services with your AWS account.
-
Go to the Amazon EventBridge dashboard (search for
EventBridge). -
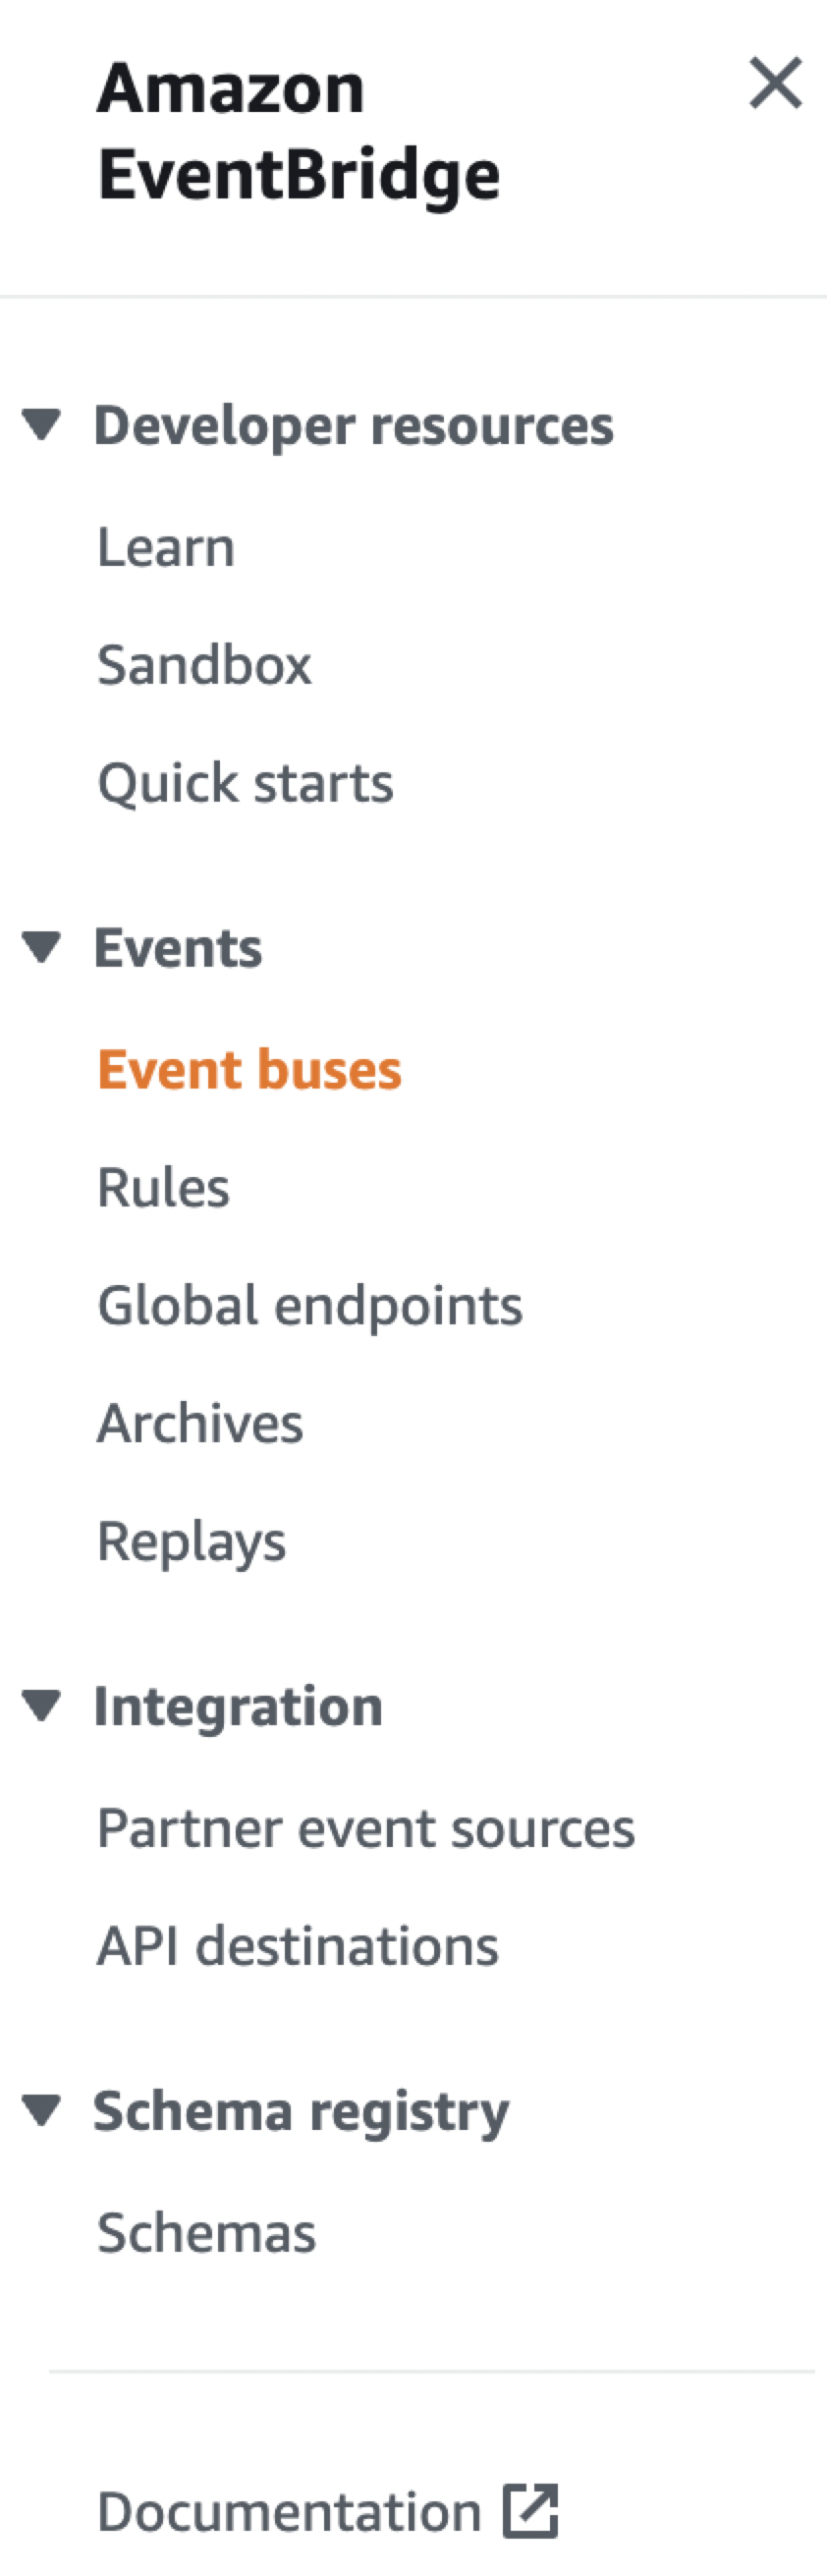
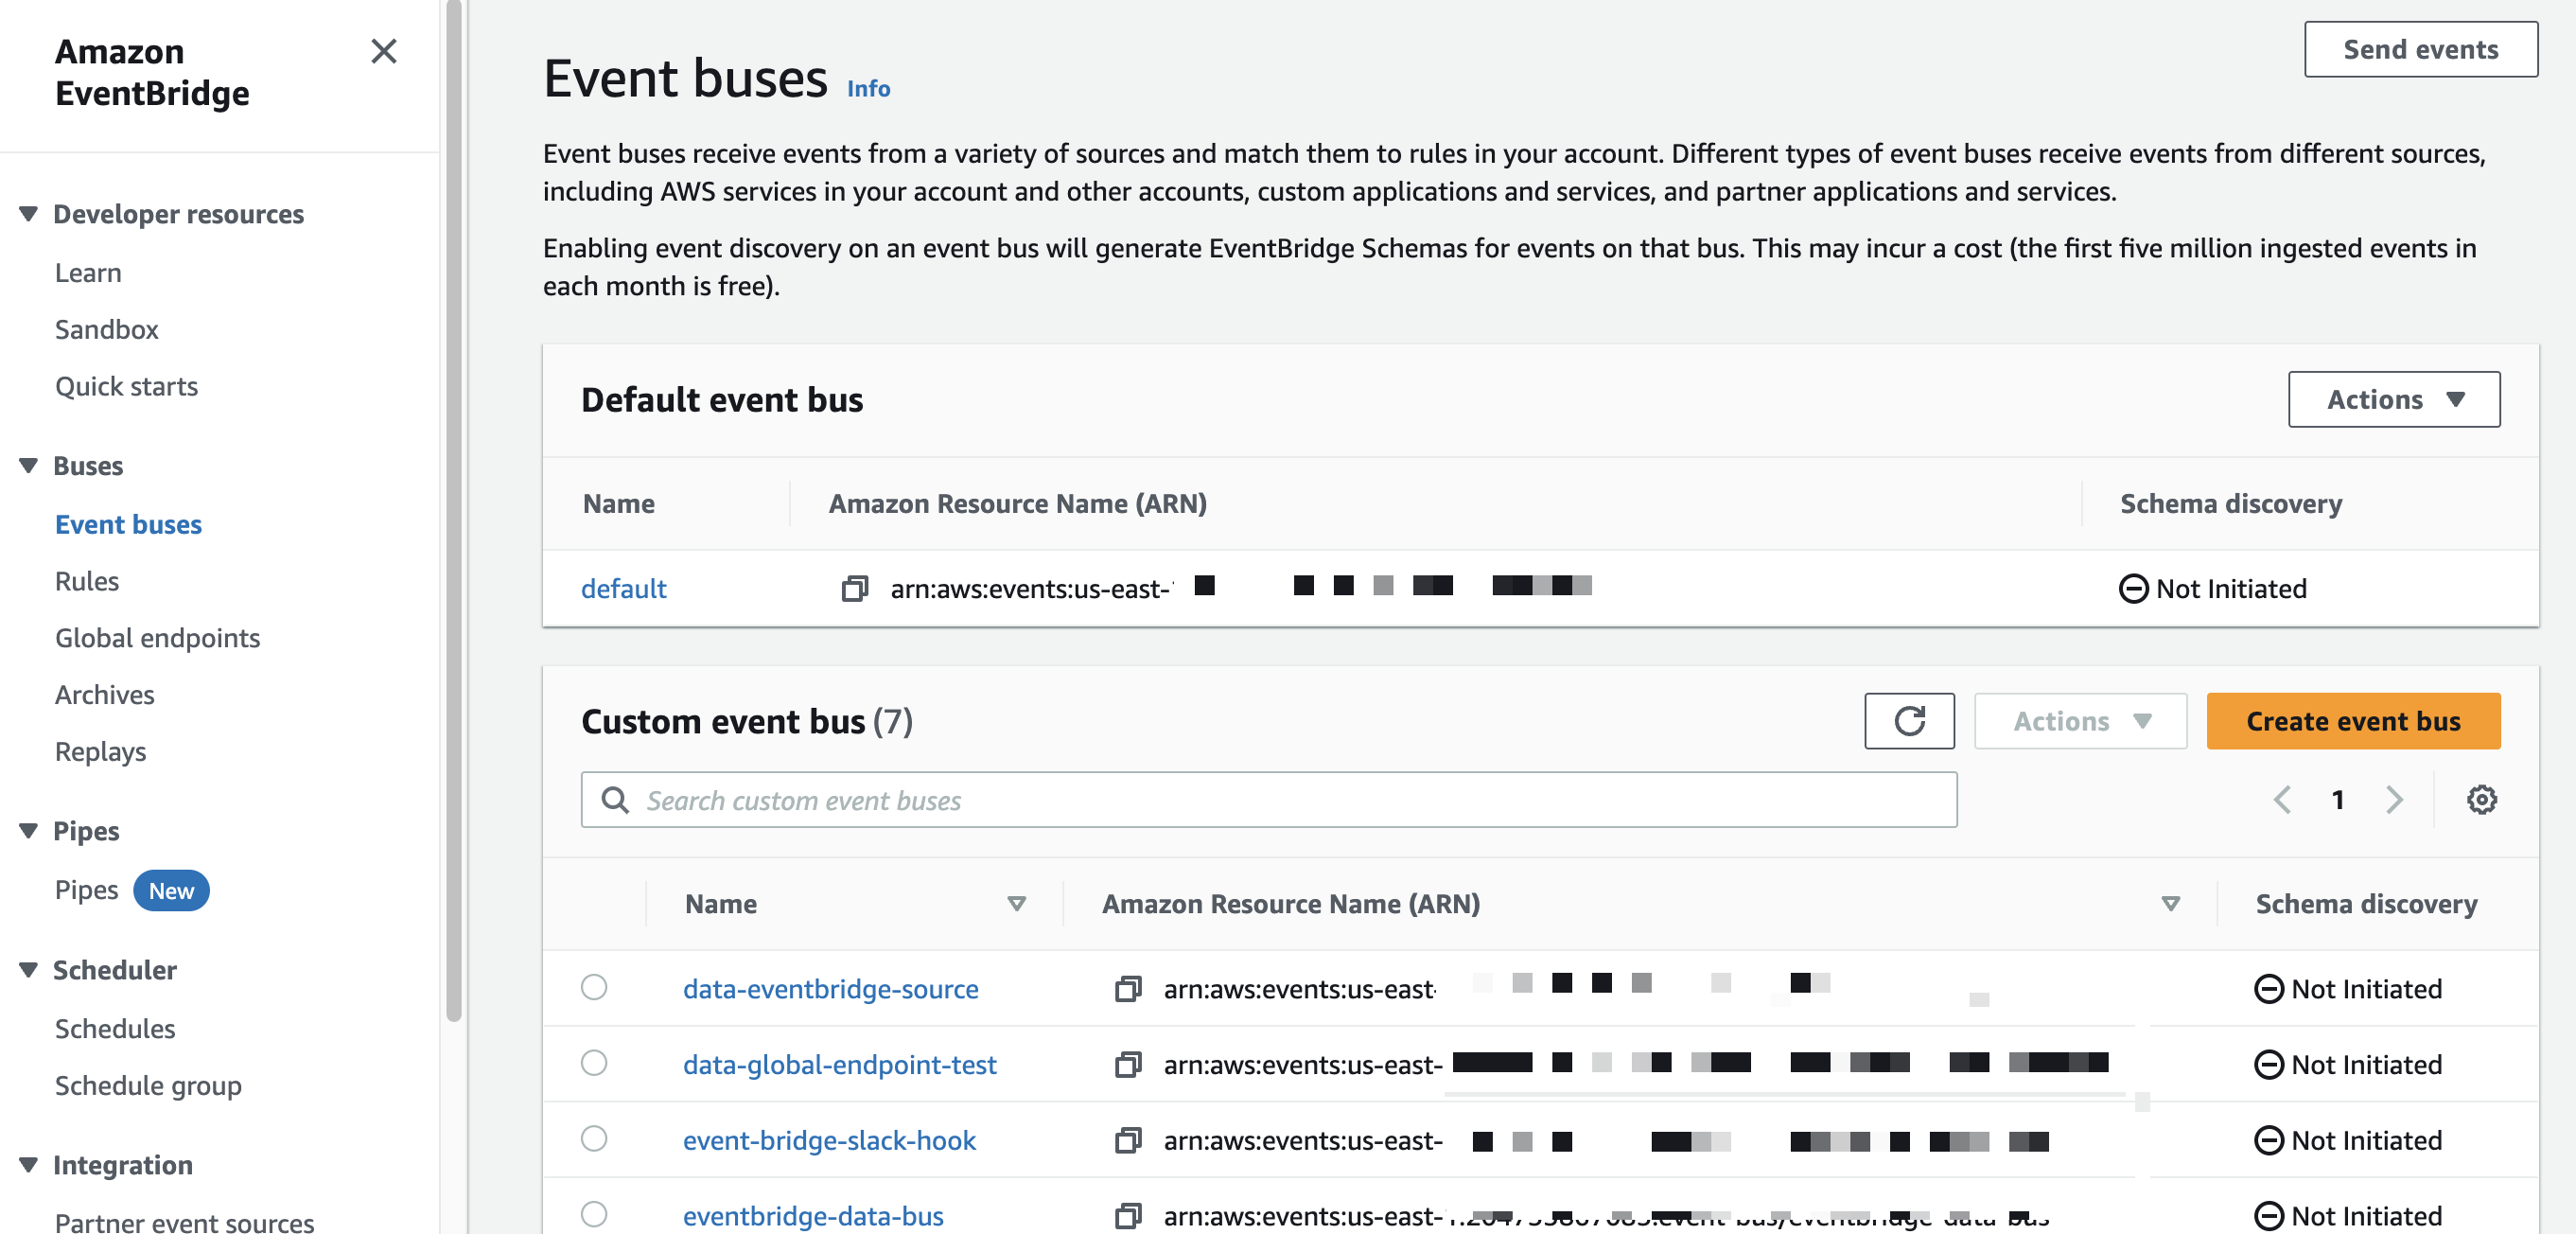
In the sidebar, click Event buses.
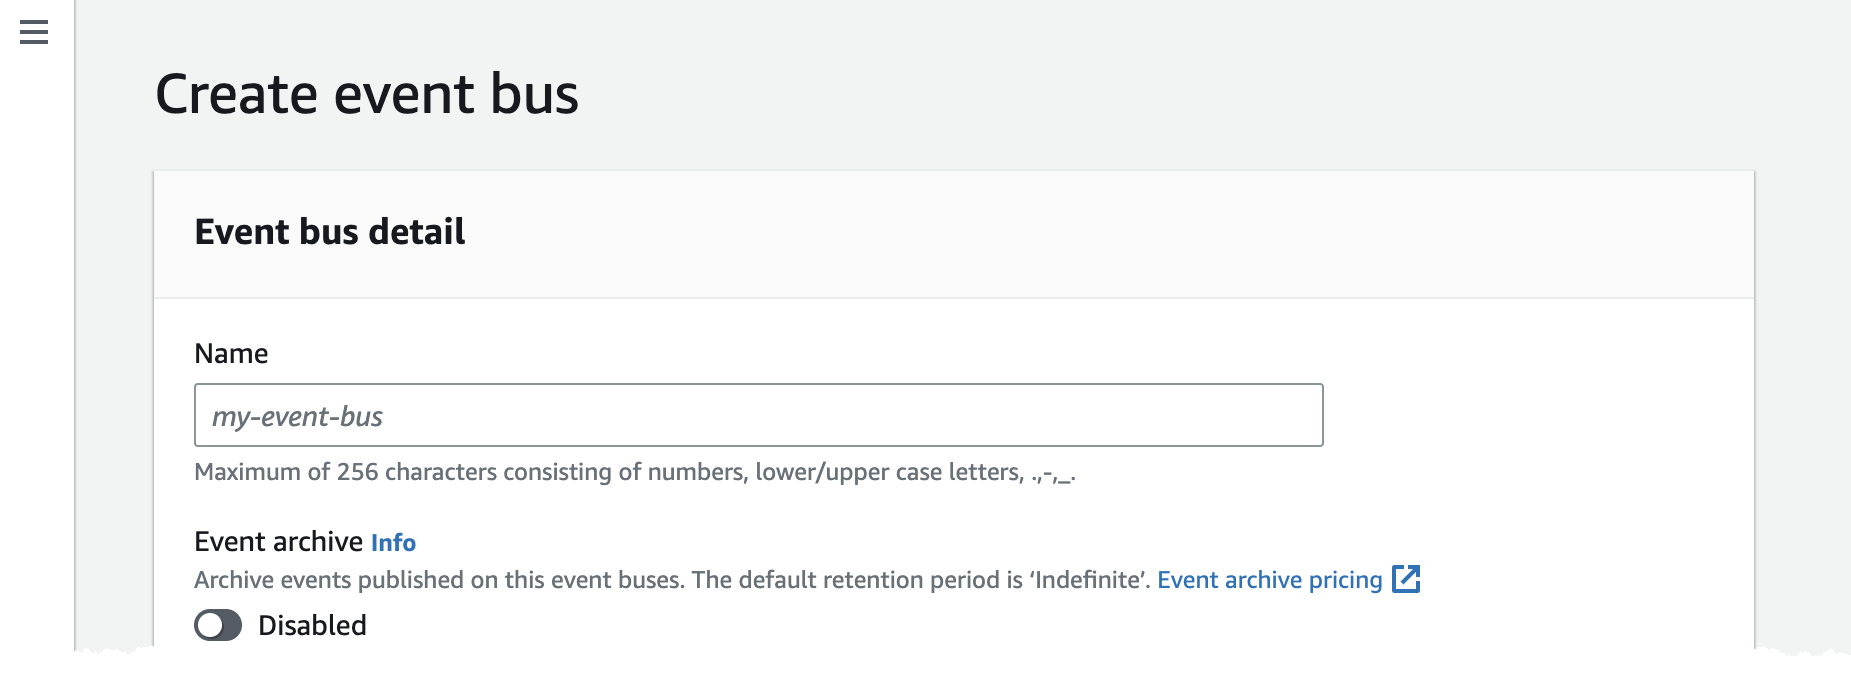
- Click Create event bus.
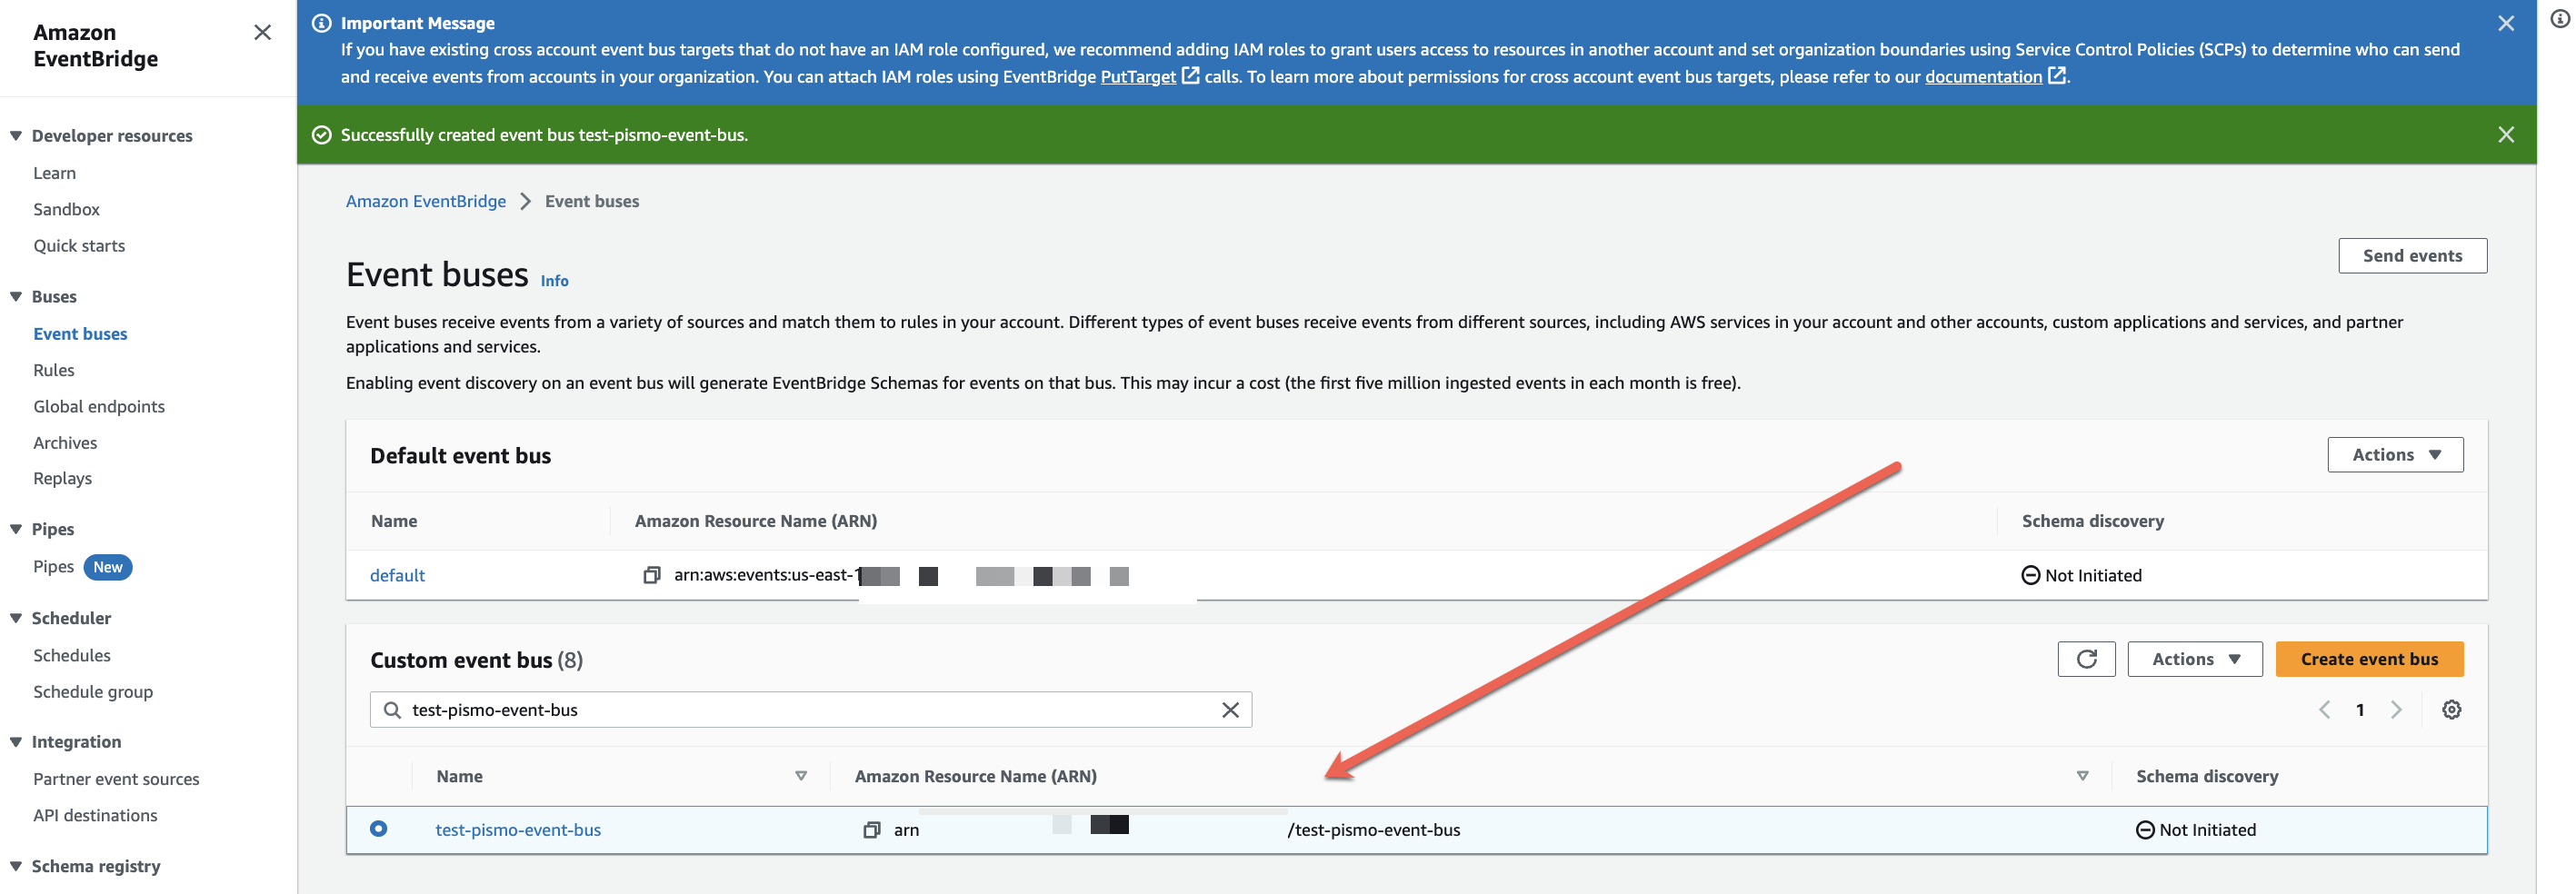
- In the Name field, enter a name for the bus that receives Pismo events, and then click Create.
Note the value in the Amazon Resource Name (ARN) field. You must provide this value to Pismo.
Create an IAM policy
A policy is an entity attached to an identity or resource that determines what the identity is allowed to do in AWS.
-
Log in to Amazon Web Services with your AWS account.
-
Go to the IAM dashboard (search for
IAM), -
In the sidebar, click Policies.
-
Click Create policy.

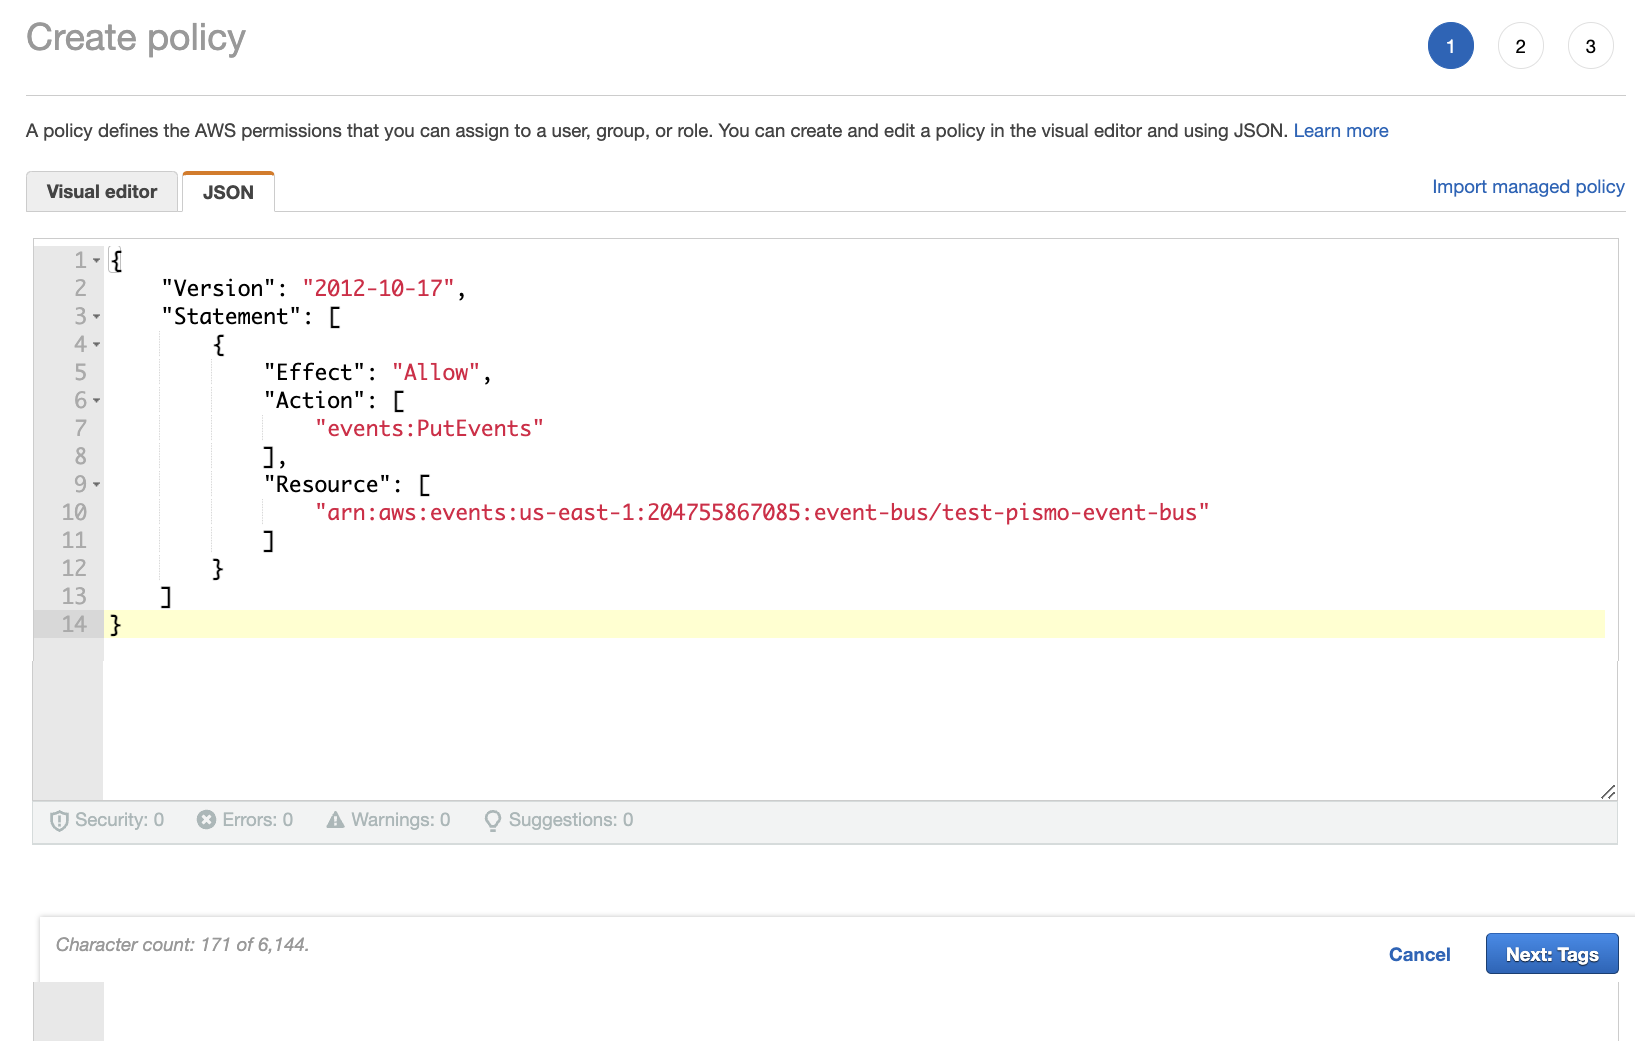
- Click the JSON tab.
- Enter the following code to define the policy:
{
    "Version": "2012-10-17",
    "Statement": [
        {
            "Effect": "Allow",
            "Action": [
                "events:PutEvents"
            ],
            "Resource": [
                "arn:aws:events:<your AWS bus region>:<your AWS account ID>:event-bus/<newly-created bus name>"
            ]
        }
    ]
Provide the values for:
-
AWS bus region
-
AWS account ID
-
Newly created bus name
- Click Next:Tags.
- Click the Next:Review button and then enter a policy name.
- Click Create policy.
Create an IAM role
-
Log in to Amazon Web Services with your AWS account.
-
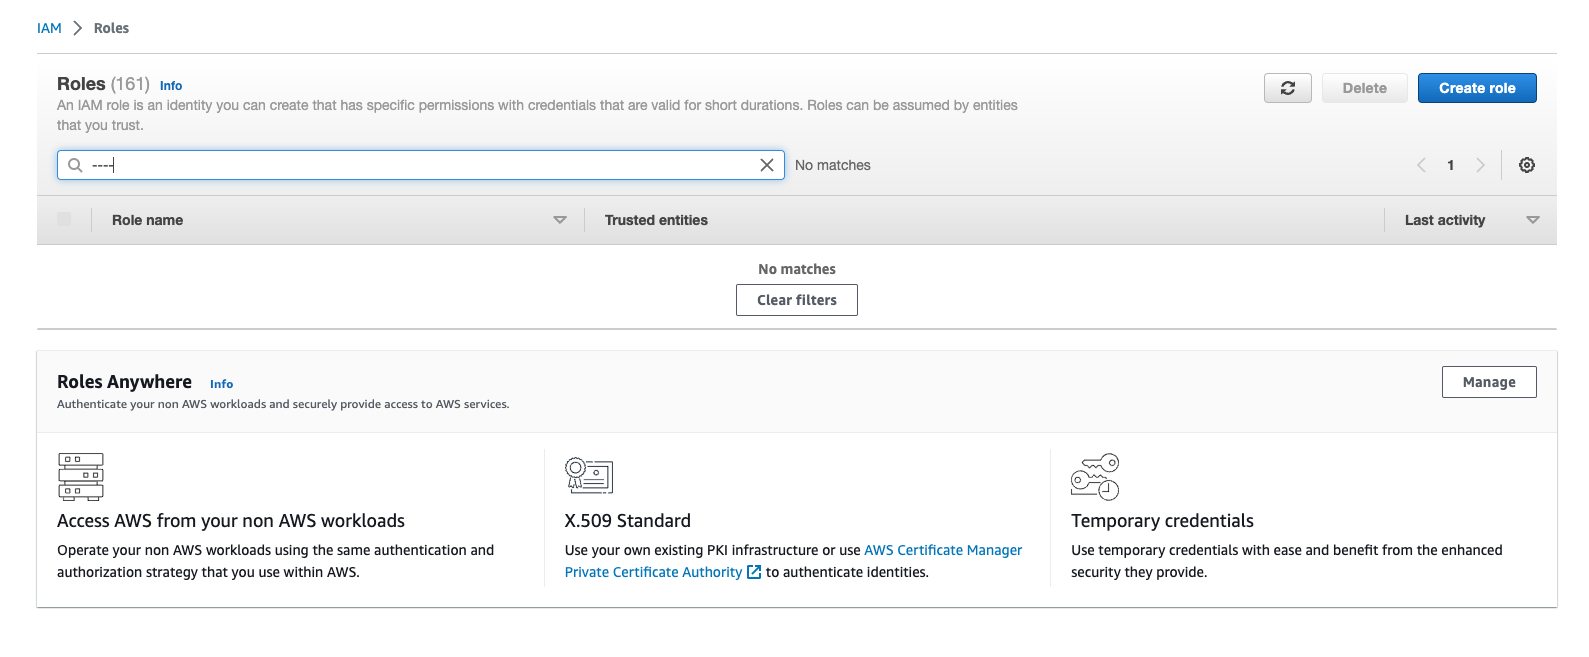
Go to the IAM dashboard (search for IAM), and then click Roles under Access Management.
-
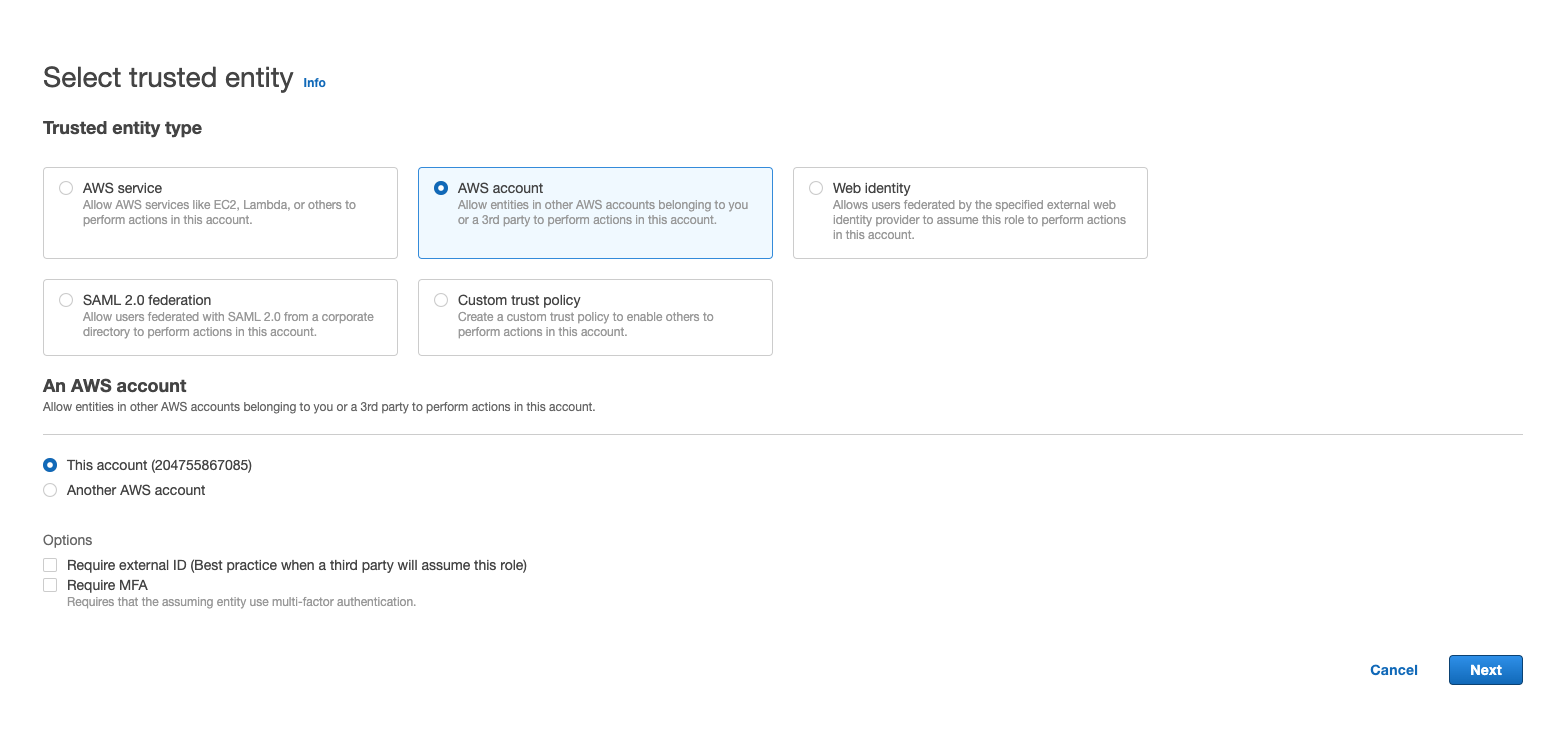
Click Create role.

- Click AWS account and then click Next.
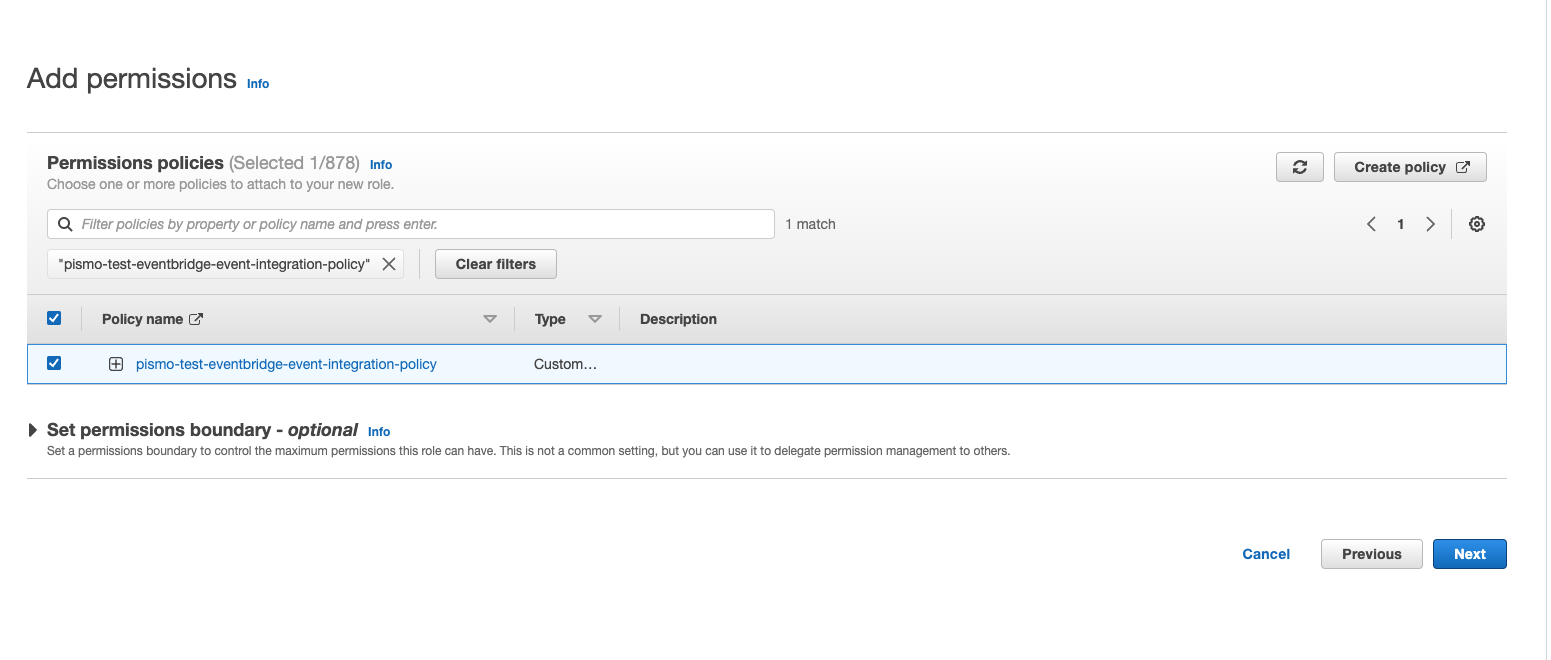
- Select the check box for the policy you just created and then click Next.
- Enter a name for your role and then click Create role.
Contact Pismo
Contact your Pismo representative to provide the ARNs for:
-
IAM role
-
EventBridge bus
Pismo will provide you with an IAM policy and external ID to complete the configuration.
Update the IAM policy to receive Pismo SNS events
Perform the following procedure after Pismo provides you with IAM policy details and the external ID for your implementation.
-
Log in to Amazon Web Services with your AWS account.
-
Go to the IAM dashboard (search for
IAM), and then click Roles under Access Management. -
Select the IAM role you created for this integration.
-
Click Trust Relationships.
-
In the text box that displays, click Edit trust policy.
-
Enter the following code:
  {
      "Version": "2012-10-17",
      "Statement": [
          {
              "Effect": "Allow",
              "Principal": {
                  "AWS": "arn:aws:iam::<AWS_DATA_ACCOUNT_ID>:role/dataplatform-lambda-fn-<ORG_ ID>"
              },
              "Action": "sts:AssumeRole",
              "Condition": {
                  "StringEquals": {
                      "sts:ExternalId": "<PISMO_PROVIDED_EXTERNAL_ID>"
                  }
              }
          }
      ]
  }
The Org ID value must use lowercase letters.
- Click Update policy.
Updated 4 months ago