GCP event file configuration tutorial
This article steps you through configuring Google Cloud Platform (GCP) for event file notification delivery. This requires you to create two things in GCP:
-
Google Cloud project – A project is a set of configuration settings that define how your app interacts with Google services and what resources it uses.
-
GCP Bucket – A bucket is a container for storing your data. Everything that you store in Cloud Storage must be stored in a bucket.
For this tutorial, you need
- Google Cloud account
Configure GCP for Pismo file delivery
-
Go to the Google Cloud website and log in to your Google account.
-
Navigate to the GCP Console.
Select or create a project:
- Select the project dropdown menu to the left of the search field.

-
Select an existing project, or click New Project to create a new one. If you select an existing project, skip the next two steps.
-
Enter a project name and click Create.
-
Select the project you just created from the Notifications menu or from the projects dropdown menu.
Select or create a GCP bucket:
- Navigate to the Cloud Storage tab within GCP Console.

-
Select an existing bucket, or click +Create Bucket to create a new one. If you select an existing bucket, skip the next step.
-
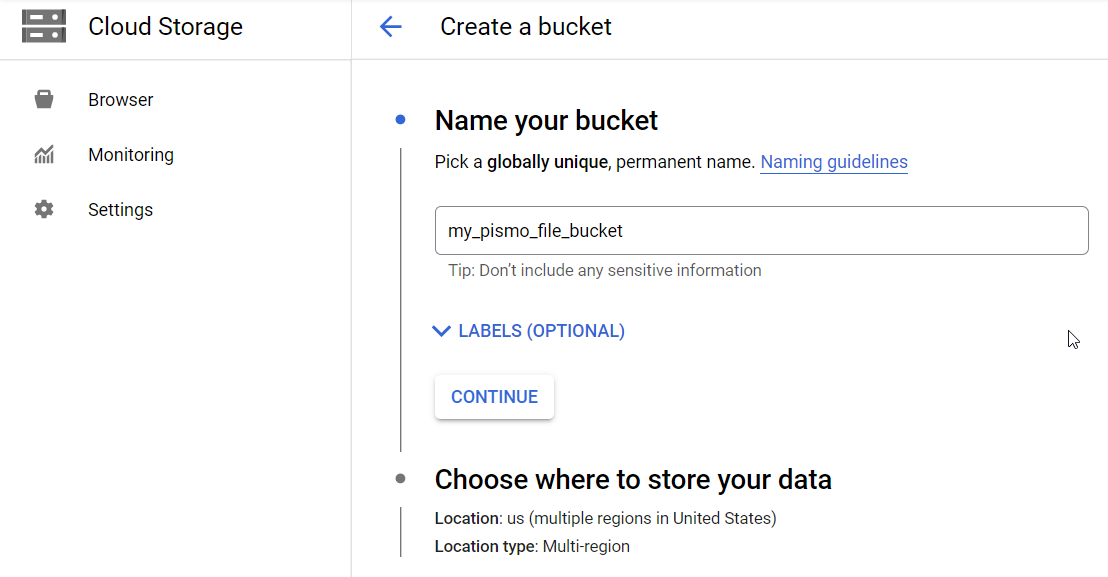
Enter a bucket name, then click Create at the bottom of the form.
-
Send the information to Pismo.
After you create your GCP bucket, you need to send the following info to Pismo:
- The GCP Project ID
- The GCP Bucket Name
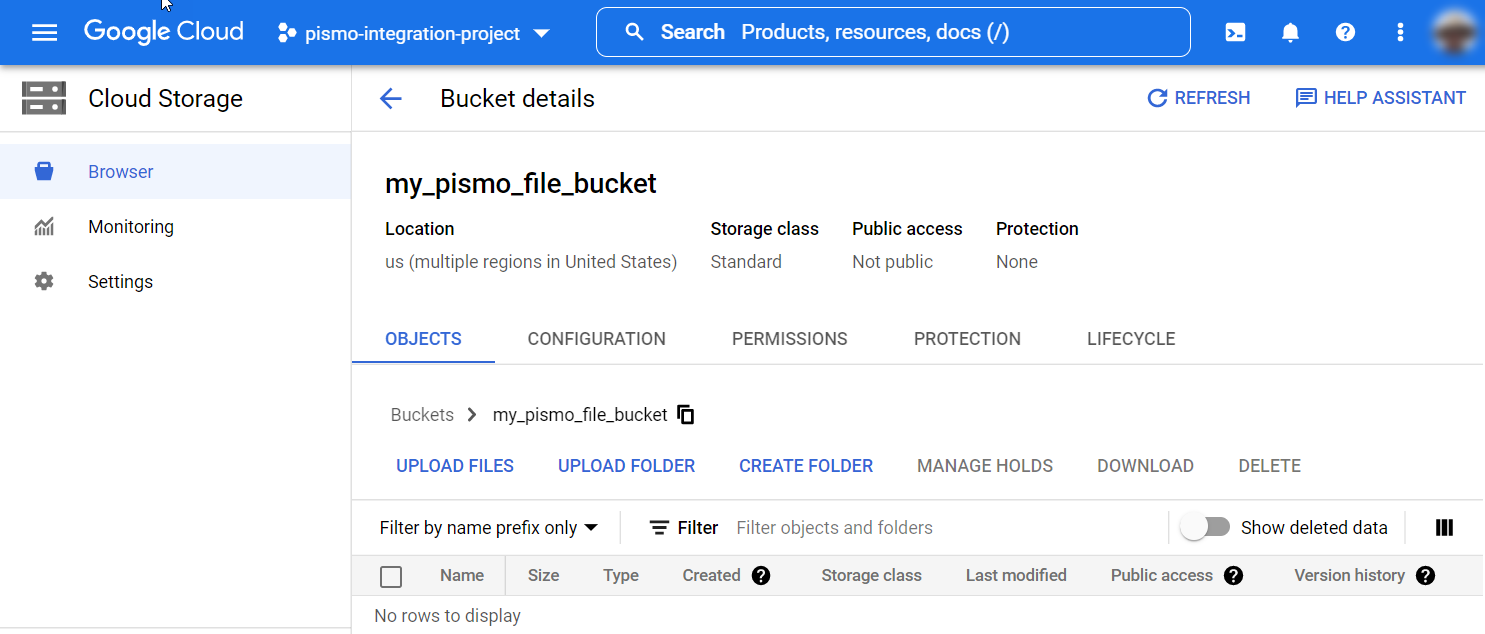
In the following image, the project ID is "pismo-integration-project", and the bucket name is "my_pismo_file_bucket".
- Pismo will create the necessary resources and send you a GCP IAM Service Account ID that you can use to give Pismo permission to send files to the bucket.
Give Pismo permission to send files
-
Go to the GCP bucket that you created.
-
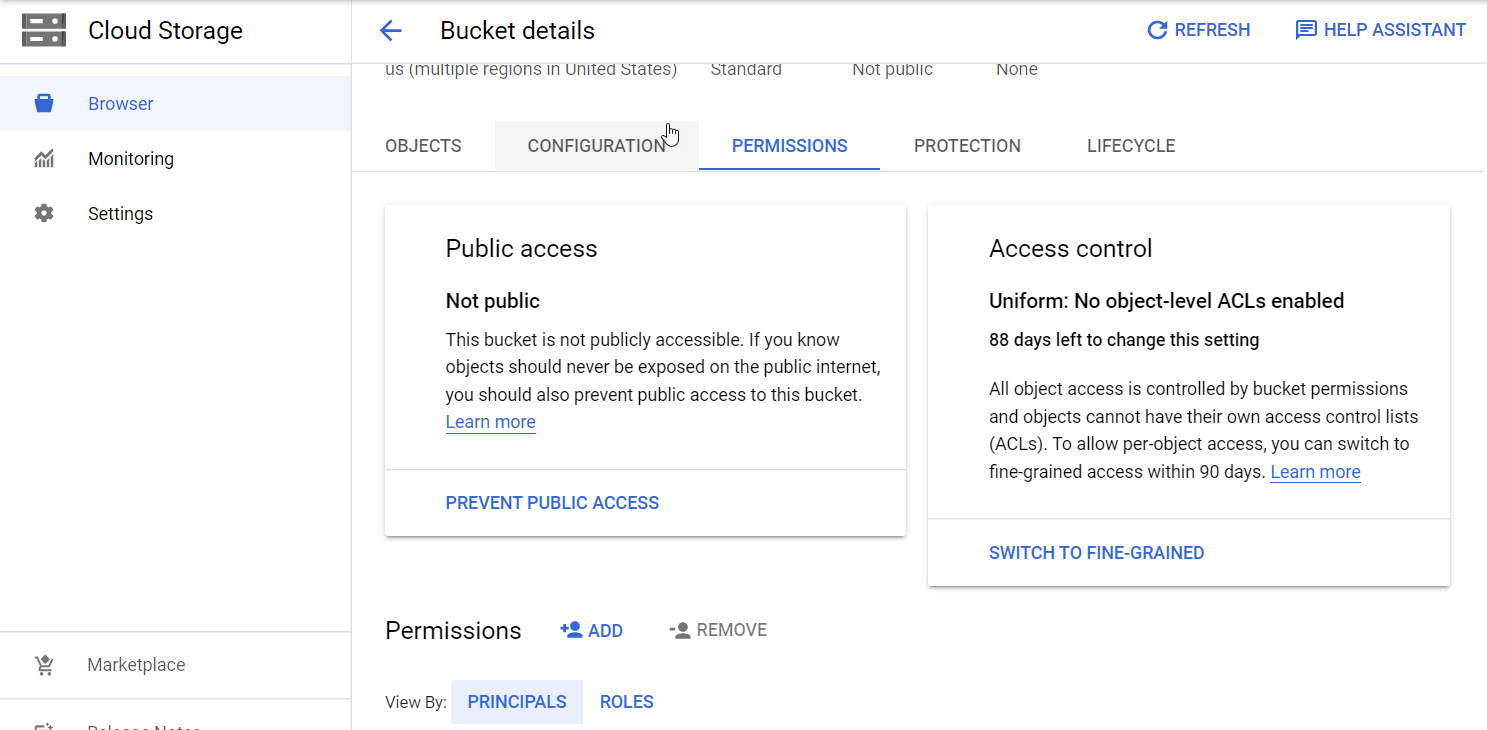
Select the Permissions tab and click +Add.
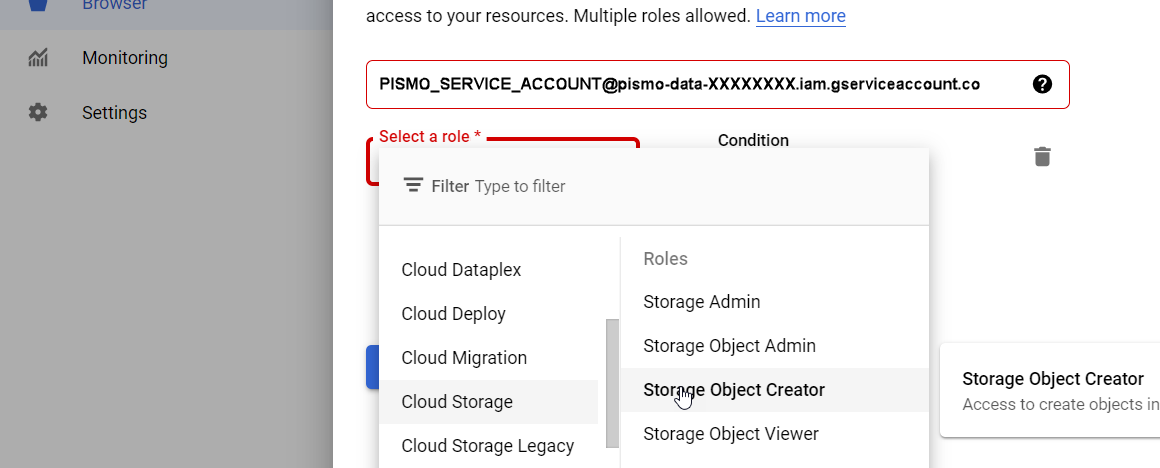
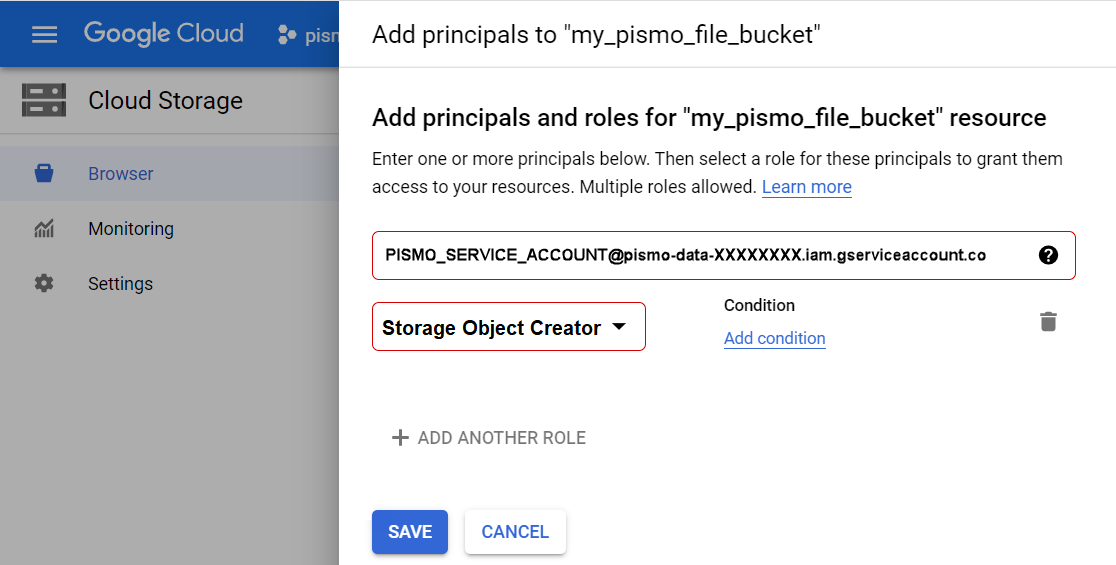
- In the New Principals field, paste the GCP IAM Service Account ID that Pismo sent you.
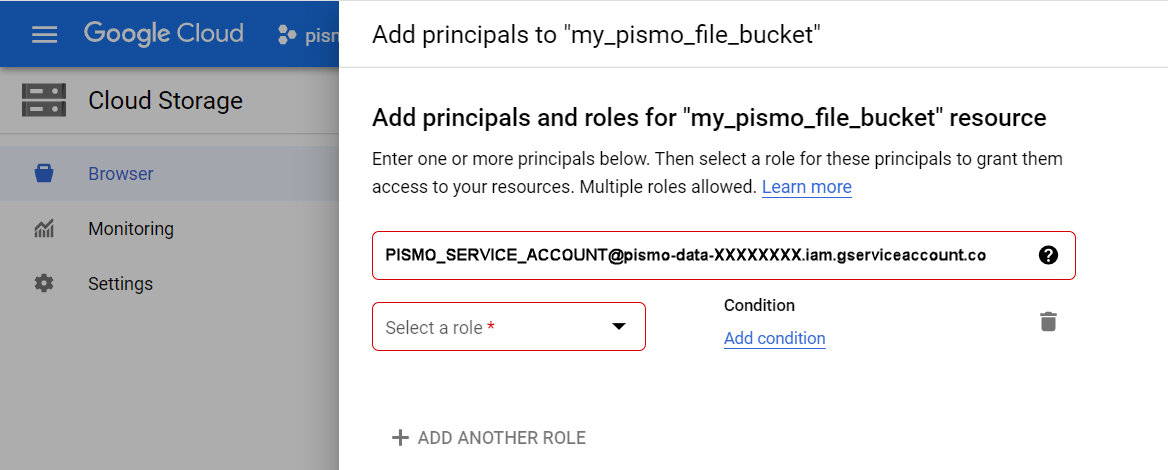
- Click in the Select a role field, and select Cloud Storage > Storage Object Creator.
- Click Save.
Updated about 1 year ago