Azure event configuration tutorial
This guide steps you through configuring Microsoft Azure for Pismo event notification delivery. This requires you to do two things in Azure:
- Configure a Service Bus Topic in the Azure Portal – Azure Service Bus is a fully managed enterprise message broker with message queues and publish-subscribe topics (in a namespace). Service Bus is used to decouple applications and services from each other which help to balance workload.
- Grant permission to Pismo’s Service Principal – An Azure Service Principal is an identity created for use with applications, hosted services, and automated tools to access Azure resources. This access is restricted by the roles assigned to the Service Principal, giving you control over which resources can be accessed and at which level. Pismo's Service Principal needs to be visible in your Azure directory.
For this tutorial, you need:
- A Microsoft Azure account
- Your Azure Tenant ID (found in your Azure Active Directory)
About Microsoft Service Bus tiers
Microsoft offers guaranteed latency and throughput only when using the Azure Service Bus premium messaging tier. The Standard tier does not offer these guarantees because it shares resources with other tenants, so its performance can vary. If your application has low latency requirements, the standard messaging tier is not recommended.
Configure a Service Bus Topic in the Azure Portal
-
Go to Service Bus in the Azure portal. (Type Service Bus in Search and it appears)
-
Select +Create from the top left. The Create namespace page appears.
-
Fill out all required fields.
For Pricing tier, select Standard or Premium. Standard, at a minimum, is required to use topics.
-
Select Review and create and, then, Create
-
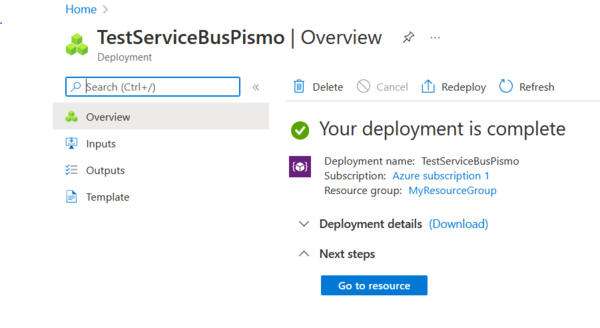
After deployment is complete, select Go to resource:

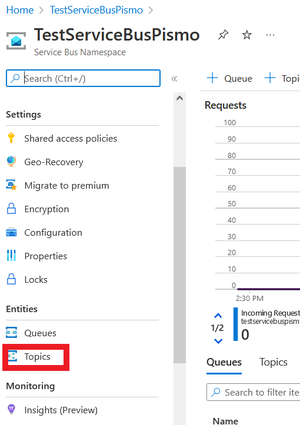
- In the navigation menu, under Entities, select Topics.

-
Select +Topic at the top of the screen. The Create topic screen appears.
-
Enter Name and configurations and select Create.
-
Click your newly-created topic and from its overview page, find its Topic URL.
At this point, you need to send Pismo your topic URL and tenant ID. Pismo then sends you back their Server Principal ID that you need for the following procedure.
To grant permission to Pismo's Service Principal:
-
Construct the following URL
-
Enter URL in browser
You are presented with a Microsoft Login page to give permission to the Service Principal. Confirm that the Service Principal description matches the Pismo provided one and select Accept.
Note: You might see a screen after this saying "Sorry, but we're having trouble signing you in." This is to be expected and is not an error.
-
Go back to the overview page for your newly-created Service Bus and, from the navigation, select Access Control (IA).
-
Select Add role assignment.
-
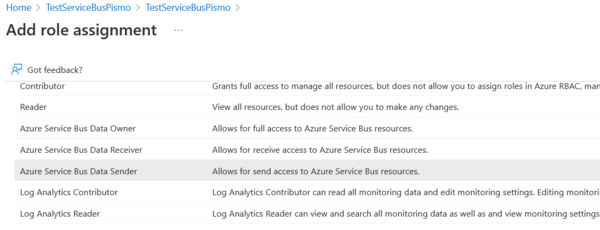
Select Azure Service Bus Sender on the left-side and select Next.

-
Select +Select Members.
-
On the Select members screen that appears on the right, select the Pismo Service Principal, then, select Select.
The Pismo Service Principal should be listed under Members.
-
Click Next, then Review and assign.
Updated over 1 year ago