Navigate Control Center
A great place to begin with Control Center is by getting familiar with its layout. This overview guides you through the homepage, menus, and key features, so you’ll know exactly where to find what you need.
Keep in mind that your permissions determine the information that is available to you and the actions that you can perform. Permissions are a collection of roles assigned to your user account, based on tasks you need to perform. Contact your Control Center administrator if you have questions. For more information, refer to User permissions and roles.
Use the following table to explore Control Center’s features, understand what you can do, and find links for more information.
| Feature | What you can do |
|---|---|
| Homepage | View key information, including programs, announcements, and your favorites |
| Main menu | Access essential Control Center features |
| Organization menu | Switch between organizations and view and edit organization details |
| Search | Search for anything in Control Center |
| Notifications | Get alerts, updates, and important messages |
| Language selector | Switch between English and Portuguese |
| Profile menu | View information about your user ID, session, and version. You can also manage authentication methods, create a report log, and sign out |
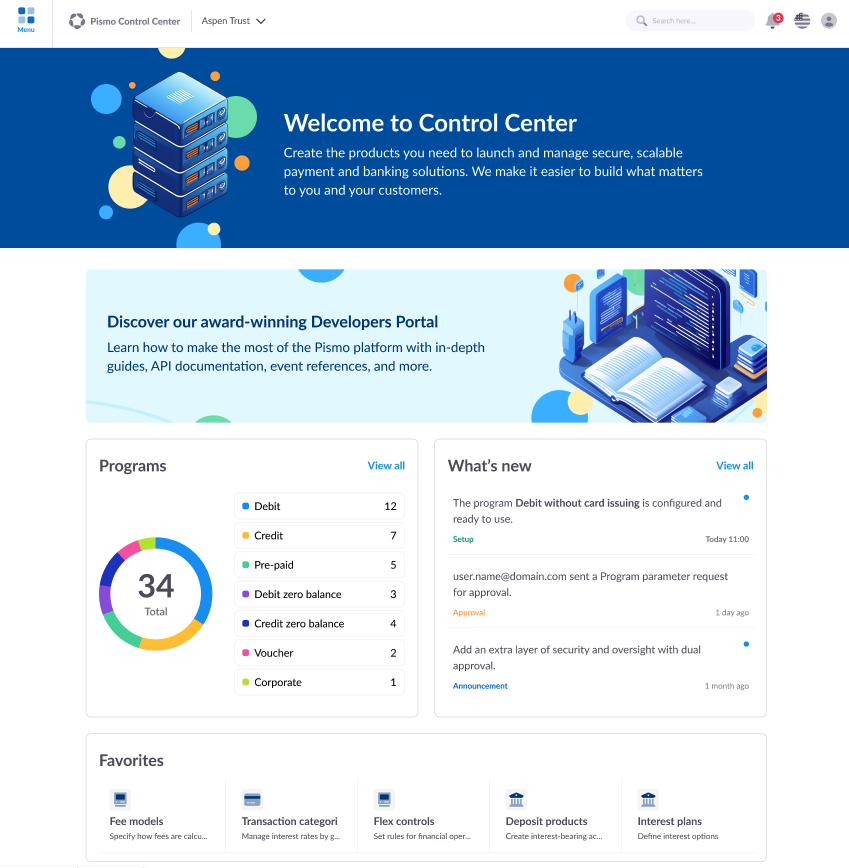
Homepage
The Control Center homepage displays as your landing page when you sign on and anytime you select Home from the main menu. The homepage highlights:
- Your programs
- Announcements about what's new, including upcoming features, important changes, and any pending actions, such as requests and approvals
- Your favorites. To add a favorite feature to your homepage, go to the main menu and select the star next to any item.
- A link to the Pismo Developers Portal for deeper technical resources
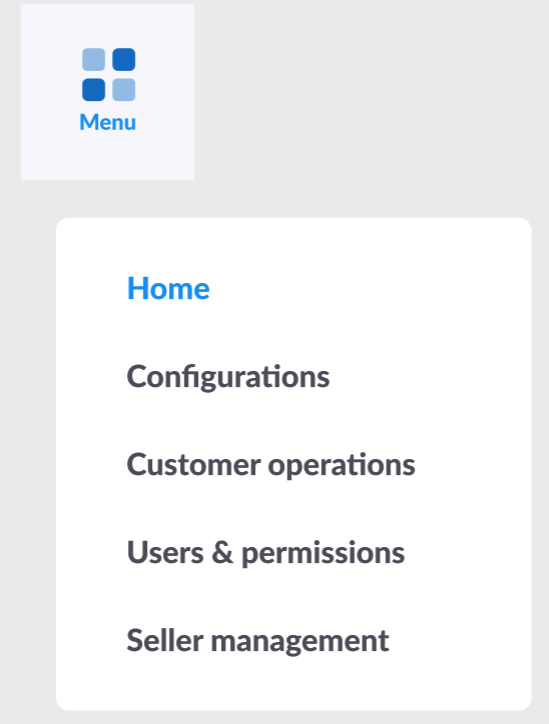
Main menu
The main menu connects you to the features and tools needed to build and manage your payment, banking, and lending programs. Access the main menu in the top left corner. Your permissions determine which features display on your menu. For for more information, refer to User permissions and roles.
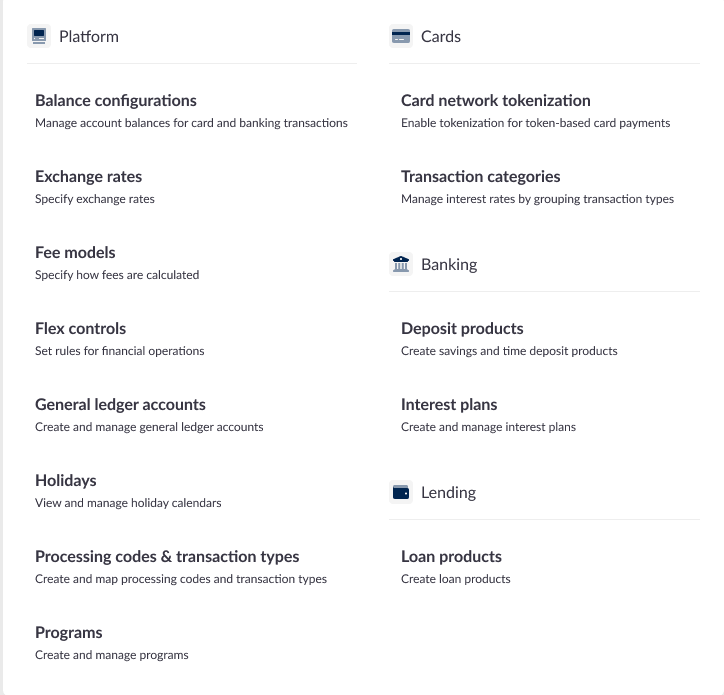
Configurations
Set up and manage your platform-wide, card, banking, and lending features.
For more information about using each feature, refer to:
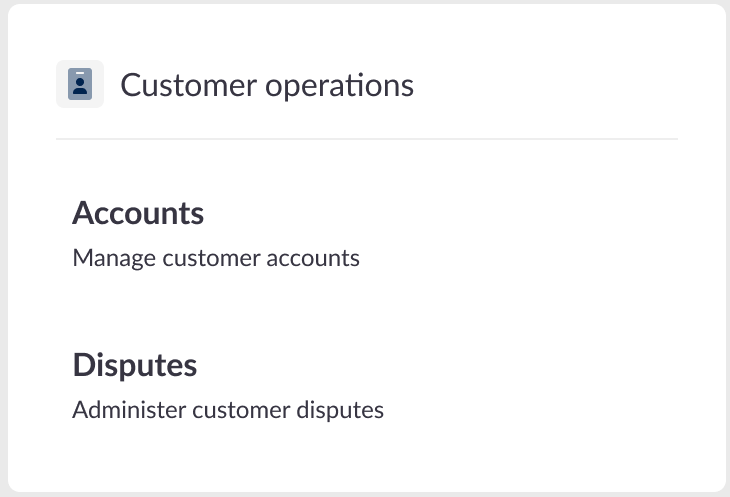
Customer operations
Manage customer accounts and transaction disputes.
For more information, refer to Customer operations.
Users & permissions
Manage all aspects of user access, such as creating users and viewing their Control Center activity. Additionally, oversee system permissions, including access keys and API permissions groups.

For more information about using each feature, refer to:
Seller management
Manage merchants that sell products through digital channels and at physical points of sale. To use Seller management in Control Center, your company must have purchased it and your permissions must include the Seller management admin role. For details about purchasing Seller management, contact your Pismo representative. To get access, contact your Control Center administrator.
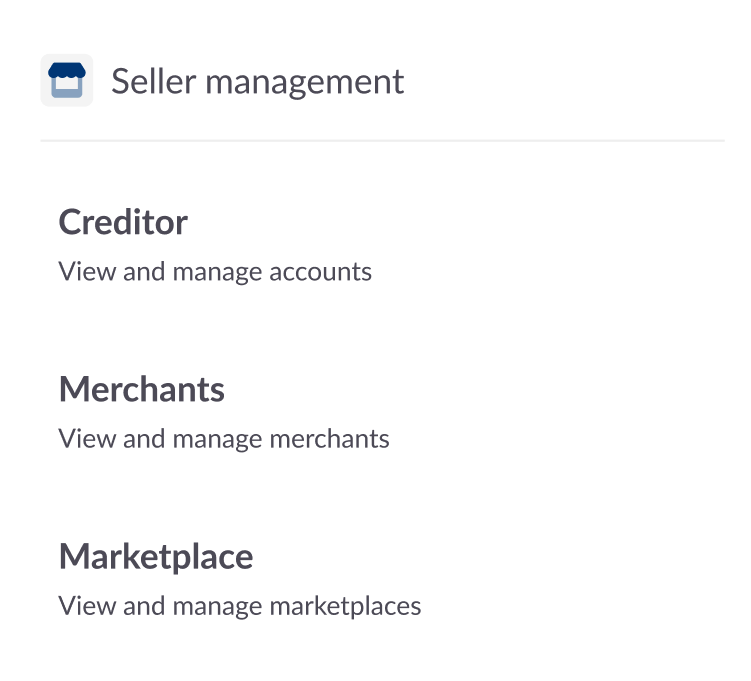
For more information, refer to Seller management.
Organization menu
View and edit details about your organization, as well as switch between organizations if you're part of more than one. To open the organization menu, go to the Control Center header on the left.

The organization menu displays your company’s details, such as its legal name, address, and time zone. Pismo creates your organization when you onboard. For more information, refer to Organization.
View and edit organization details
To view and edit details about your organization:
-
Select View organization details.
-
If you want to edit these details, select Edit, then save your changes.
Switch organizations
If you're part of more than one organization, you can switch between them without having to log out. Keep in mind that switching organizations might also change which features you can see and use. Your Control Center administrator assigns you specific permissions for each of your organizations.
To switch organizations, find the new organization using the search bar or from the list in Your other organizations and select the desired organization.
Search
Find anything in Control Center by using the search bar in the top-right corner of the header.

Notifications
Notifications announce upcoming features and key activities and alert you when you need to take action. View notifications from the notification icon (the bell) in the top-right corner of the header. When there's a new notification, you'll see a red badge on the icon. The number indicates how many notifications are unread.

Select the icon to open recent notifications. You can take these actions:
- Use the Unread only toggle to display only messages you haven't read yet.
- Select Mark all as read to mark all currently displayed messages as read.
- Select View all notifications to open the full, detailed notification page.
You’ll receive these types of notifications.
Notification type | Description |
|---|---|
Setup | Notifies you about key activities, such as:
|
Announcements | Alerts you to application updates, new features, and scheduled maintenance |
Approval | Notifies you about actions you need to take. For example, if you're using dual approval, you'll get notifications about requests and approvals. For more information, refer to Dual approval. |
Language selector
Select your language (English or Portuguese) from the language selector icon (the flag) in the top-right corner of the header.

Profile menu
View the profile menu from the profile icon (the person) in the top-right corner of the header.
Use the profile menu to manage the following settings.
| Settings | What you can do |
|---|---|
| User name | View your Control Center user ID |
| Report log | Copy detailed information to include in a Service Desk request. For more help, refer to Access detailed report log information. |
| Manage authentication | Select the multi-factor authentication to use when signing on to Control Center. For more information, refer to Add additional methods for multi-factor authentication (MFA). |
| Sign out | Sign out of Control Center |
| Session ID | View the unique ID for your current Control Center login session |
| Version number | View the Control Center version. |
Access detailed report log information
When a Control Center request fails, a report log notification displays with details about your current session. You can also access this notification anytime in the profile menu.
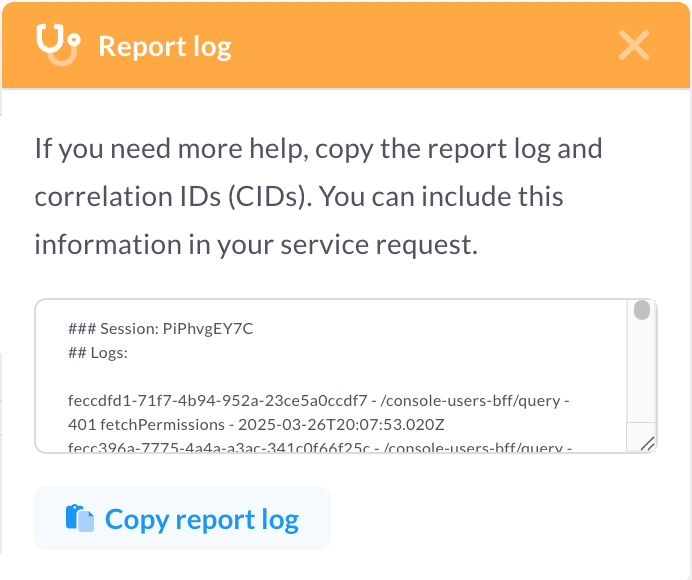
This information is useful if you're opening a Service Desk request to report an issue. To copy the information:
- Select Copy report log. The information is saved in your clipboard.
- Paste the information from your clipboard into the description when you create your Service Desk request. For more information, refer to Open a service request.
The report log has these details.
| Detail | Description | Example |
|---|---|---|
| Correlation ID | The Correlation ID groups a series of related API requests and events. | fecc8fa6-3564-4dcc-bd28-a9f237ba63bc |
| Endpoint path name | The endpoint that was called | /crm-core-bff/query |
| statusCode | The HTTP response status code. Errors are identified when the statusCode is one of the following: 400, 403, 405, 409, 500, 502, 503, 504 (but not 401 or 404). | 500 (Internal server error) |
| operationNameGraphql | The operation performed by the endpoint | getTotalTransactionsPerformed |
| Date-time stamp | The date and time the operation occurred | 2025-03-26T21:09:24.742Z |
Updated about 1 month ago