Accounts overview
The accounts overview is designed to make all account information readily available, making it simple to manage and monitor accounts. It is the displayed page when you select a customer or an account from the Account management page.
Accounts in Control Center are grouped by customer—the person or company that holds the account. Select a customer's name to display a menu of all their accounts.
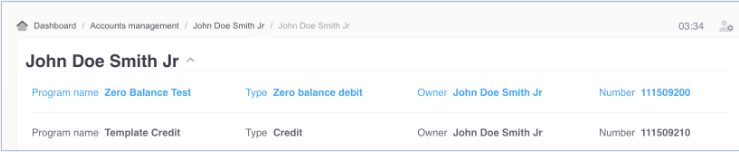
You can only view one specific account at a time. Select an account to display its Overview page.
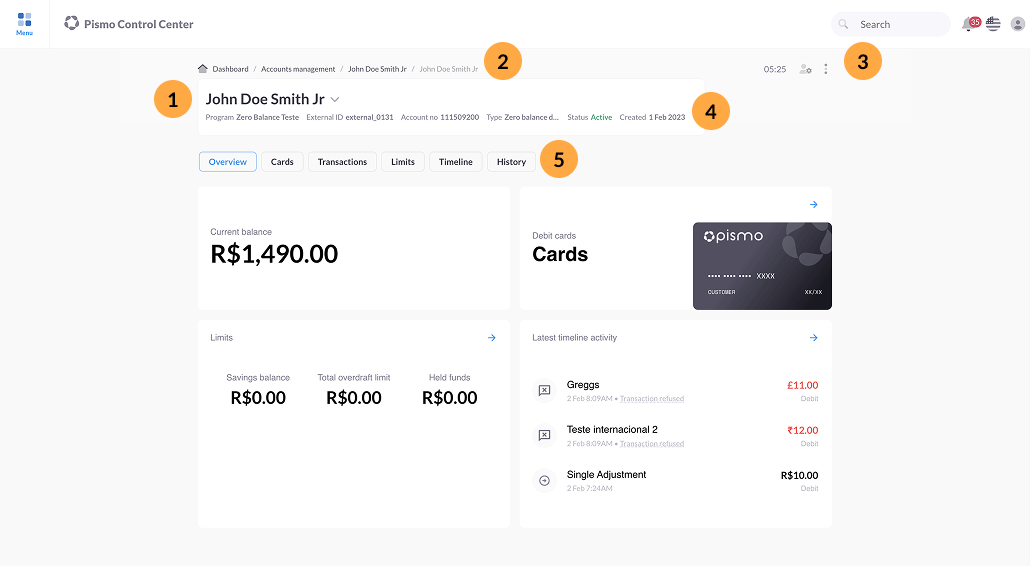
The following images and table explain the elements of the account overview page. The Overview view displays by default.
Icon | Element | Description |
|---|---|---|
1 | Customer name | Name of the customer. You can select the customer's name to open a menu of all the other accounts that belong to that customer. |
2 | Breadcrumb trail | Navigation aid that shows where you are within the hierarchy. Select any of the links to move up a level in the hierarchy. |
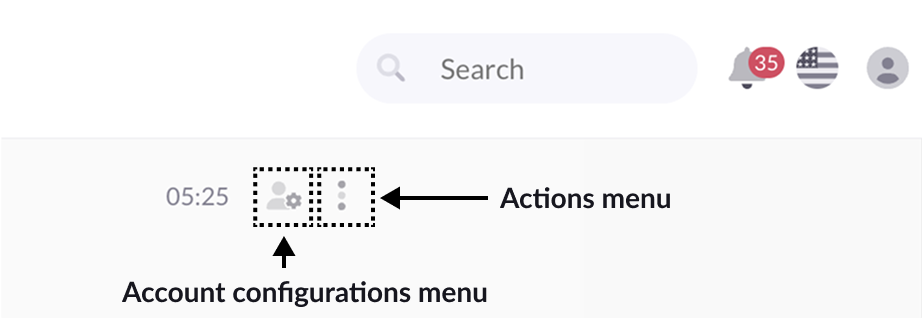
3 | Session timer and menus |
|
4 | Program summary | Basic information about the account, including the name of the program that contains the account, the account number, the account type (such as Credit or Prepaid), and its status (such as Active or Blocked). |
5 | Account views | Key information about the account, grouped by category. The views shown differ slightly, based on the account type, your role, and other factors. They include details like the account's current balance or available limit, transaction history, requests and approvals, and any related cards. |
Account views
Account views are tabs on the Overview page that group information about an account into categories. The available views vary based on the account type and your roles. The following views are available, with the correct account type and permissions.
- Overview—General information. This is the default view.
- Cards—Every issued card. Each card has detail tabs for transactions, details, and status change history.
- Transactions—Transaction event history
- Statements (credit only)—Monthly statement details, including amounts, minimum payment, and related dates
- Limits—Credit limits (credit accounts) or fund balances (debit accounts)
- Deposit products (debit only)—Available and attached deposit products
- Timeline—Account event history
- History—Account management session history
- Loans—List of account loans and options to manage them
- Requests and approvals—List of all requests and approvals for the selected account
Sessions
Control Center begins an account management session whenever you open an account overview and ends when you close the Web browser or select Actions > End session.
A session timer is a common feature in CRM applications. Tracking the time spent in an account management session is useful for things like tracking billable hours and gathering data on performance and productivity.
The Actions menu contains the following Sessions options:
- History—Review session history
- Add notes—Add session notes
- End session—End the session
Control Center maintains a history of all sessions, including their duration. If you leave a session without selecting End session, the session is listed in the history as "session abandoned".
When you end a session, you have the option to add information about the outcome (resolved, unresolved, or open) and you can include a reason for any changes. This information helps others to understand what hapened during your session and why.
Account options
From the account overview, you can also do the following.
- View account information by available category tab
- Manage account configurations such as account details, customers, phone numbers, and addresses (refer to Account configurations).
- Perform account management actions such as change the account status, make an adjustment, and manage held funds (refer to Account actions).
- View and edit card information (refer to Card information).
Updated 24 days ago