Confluent event configuration tutorial
This article steps you through configuring the Confluent Cloud platform for streaming event delivery. The configuration process involves three things in Confluent Cloud:
- Confluent Cloud cluster — Confluent lets you create a managed cluster, where you create the topics through which you can receive data events.
- Confluent Cloud topic — A resource inside a cluster to which events are delivered.
- API key — A code used to identify and authenticate an application or user.
For this tutorial, you need:
Configure a cluster
- Log in to your Confluent Cloud account.
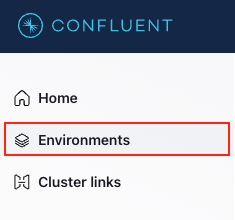
- In the sidebar, click the Environments tab.
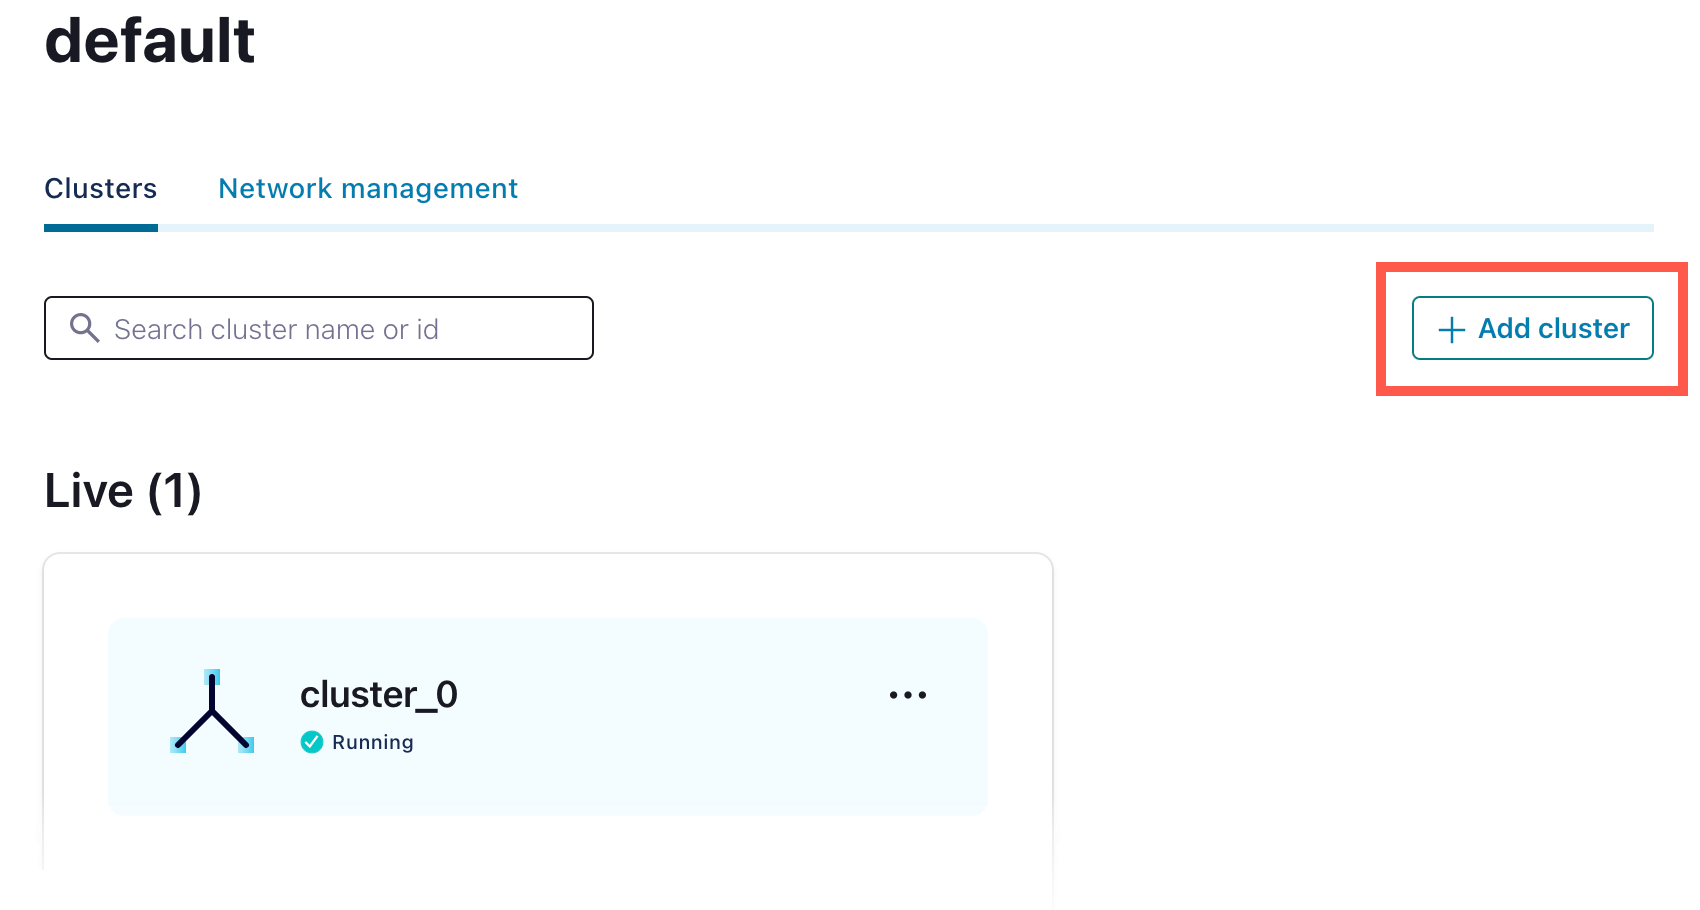
- Click the Add Cluster button.
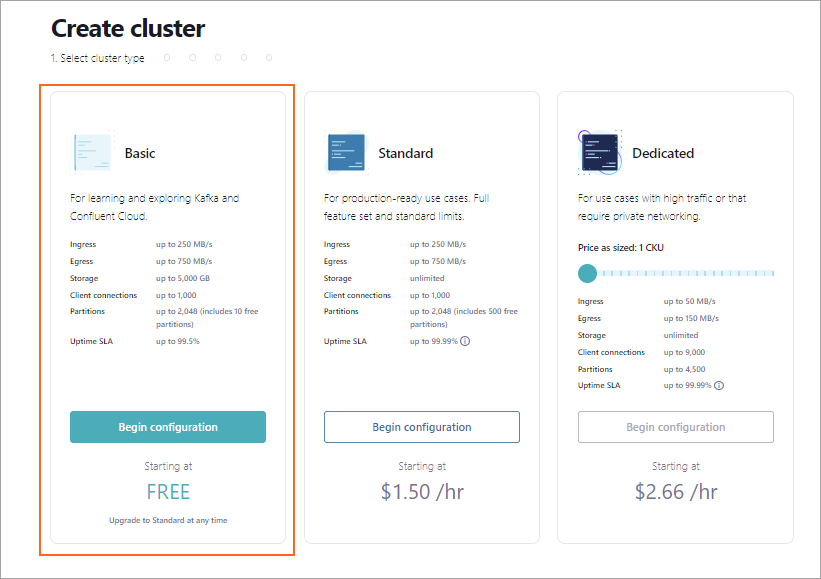
- Select a cluster type (choose Basic, Standard, or Dedicated).
-
Select a cloud provider, region, and zones.
-
Click Continue.
-
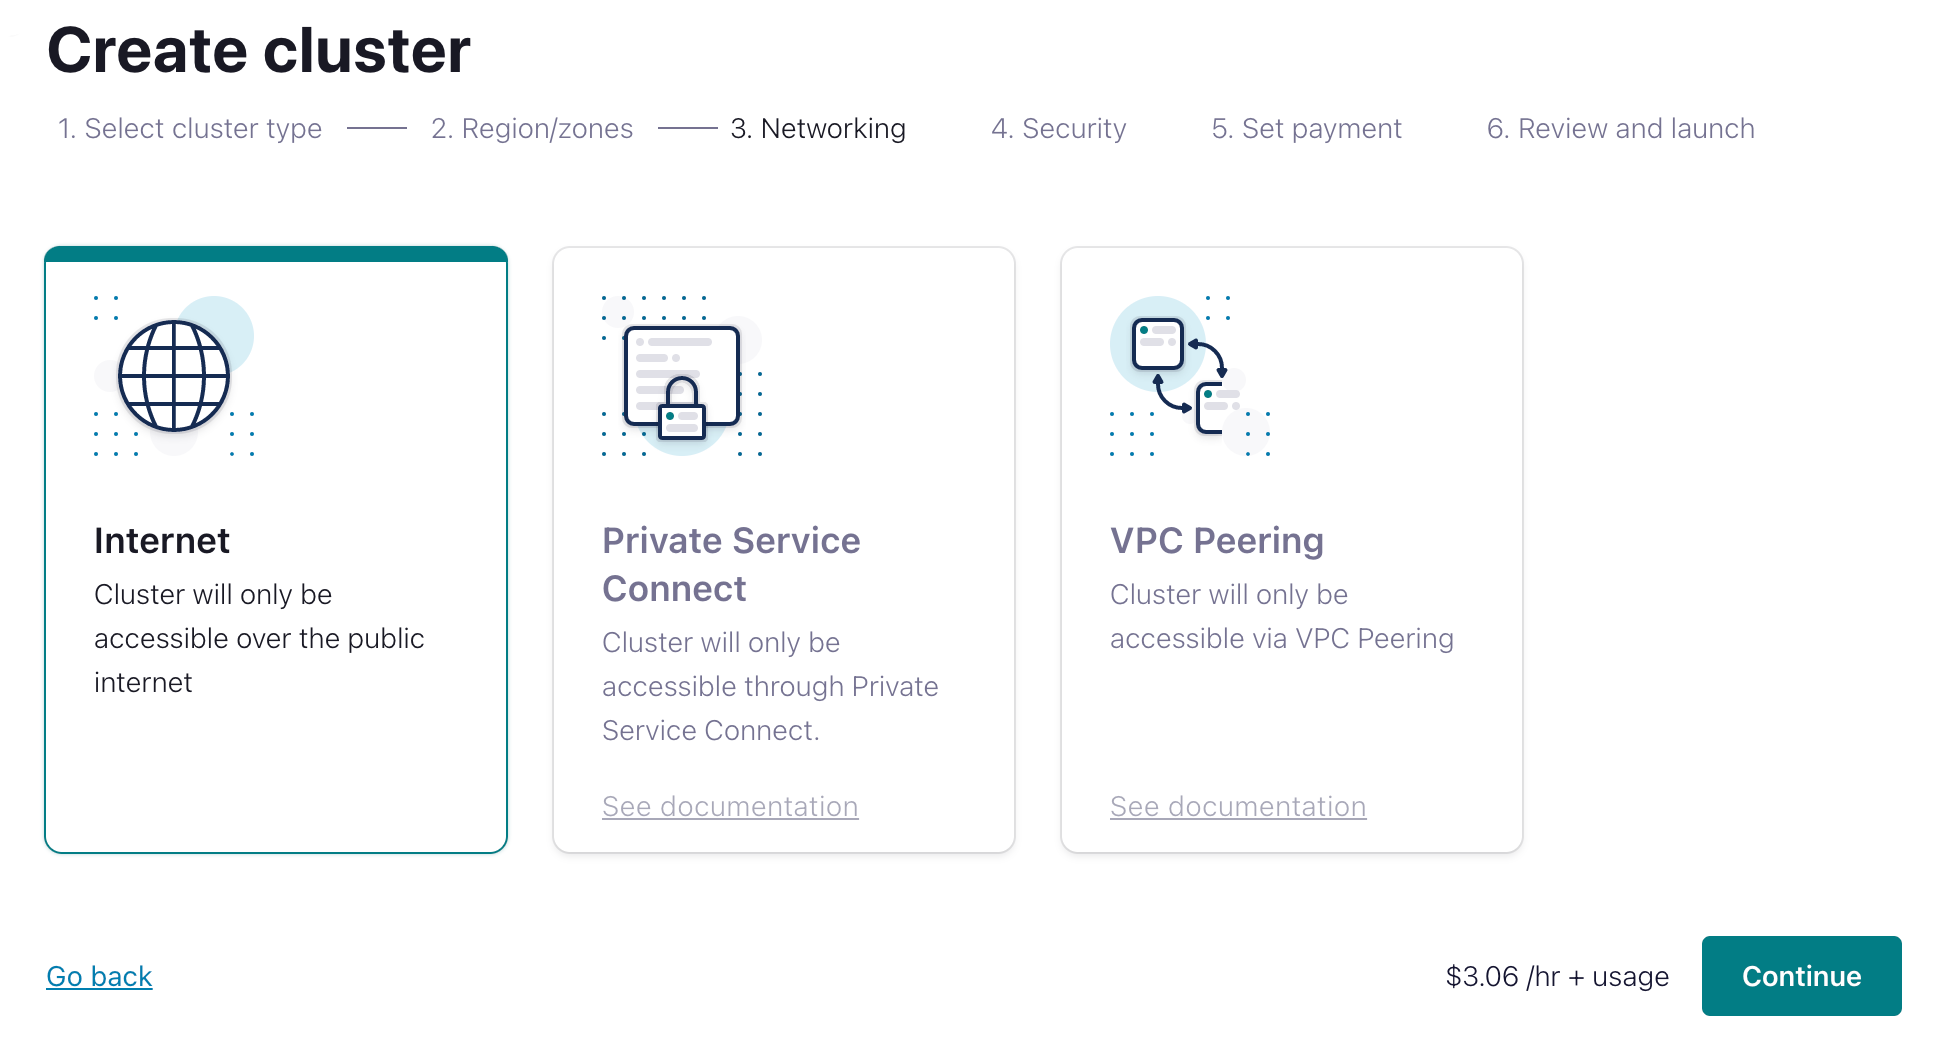
If you choose the Dedicated cluster type, you must select the networking type Internet.
-
Click Continue.
-
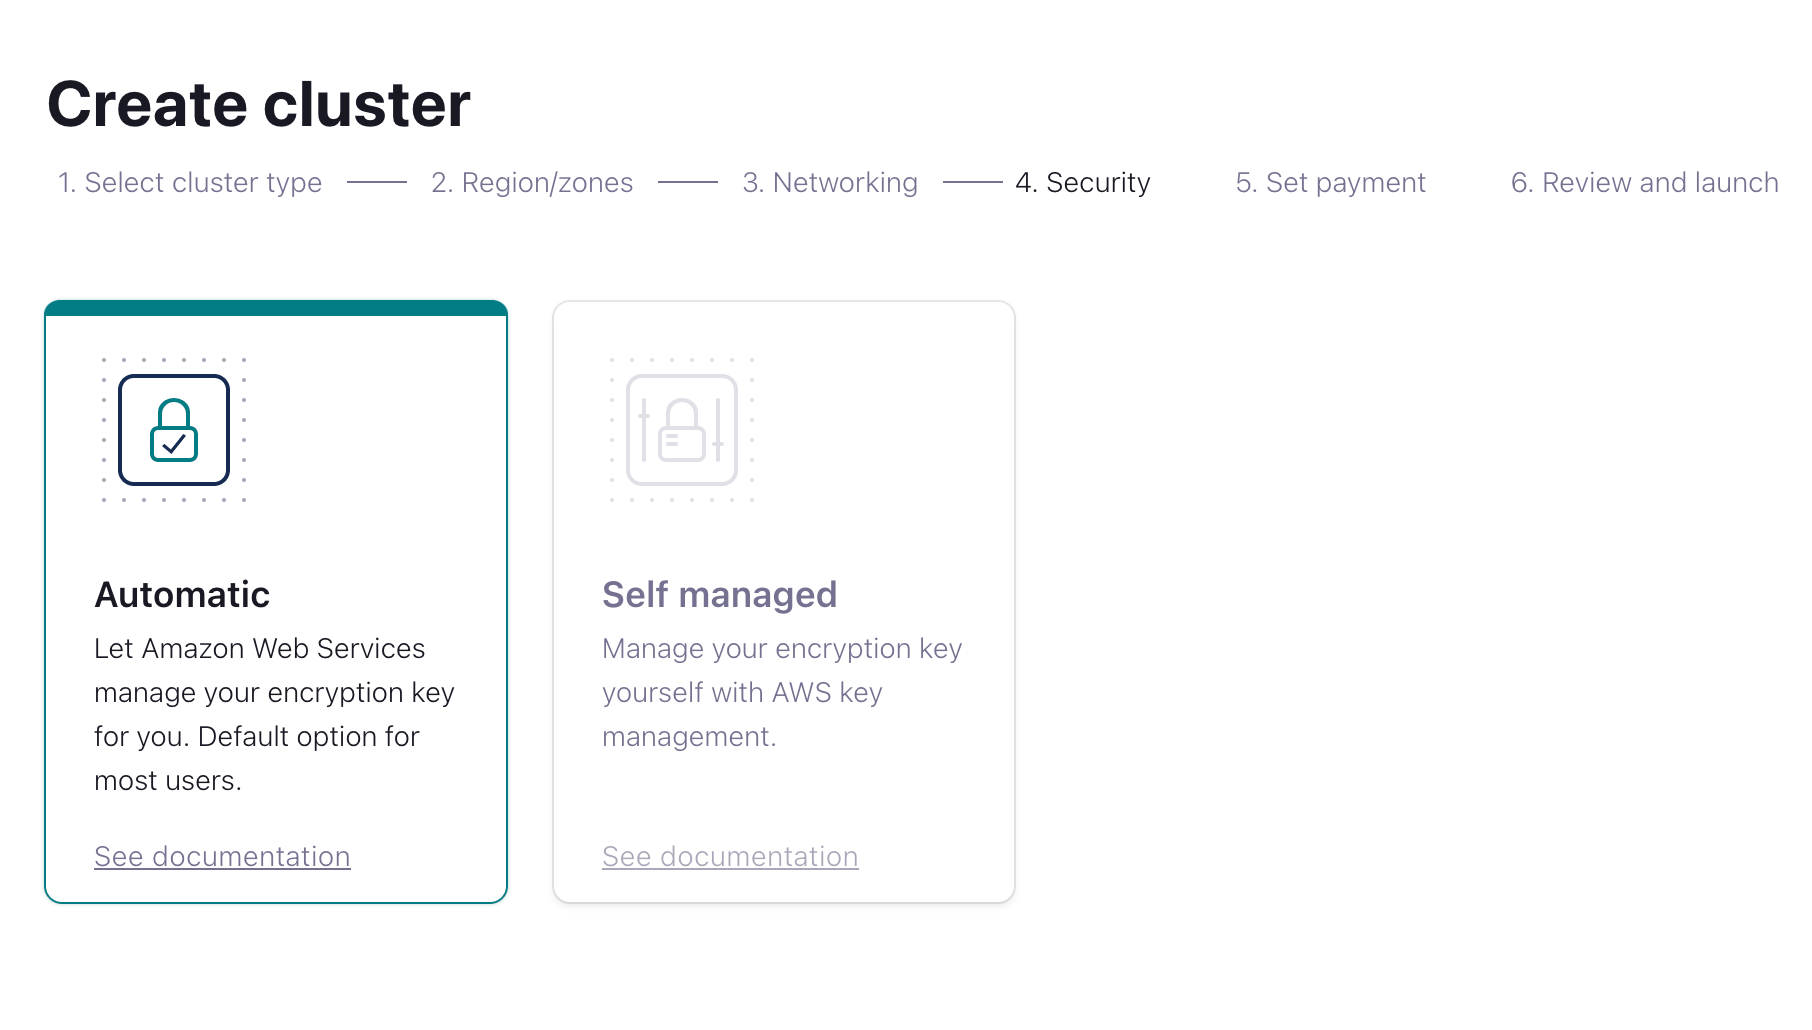
For encryption-key management, choose either Automatic or Self managed.
-
Click Continue.
-
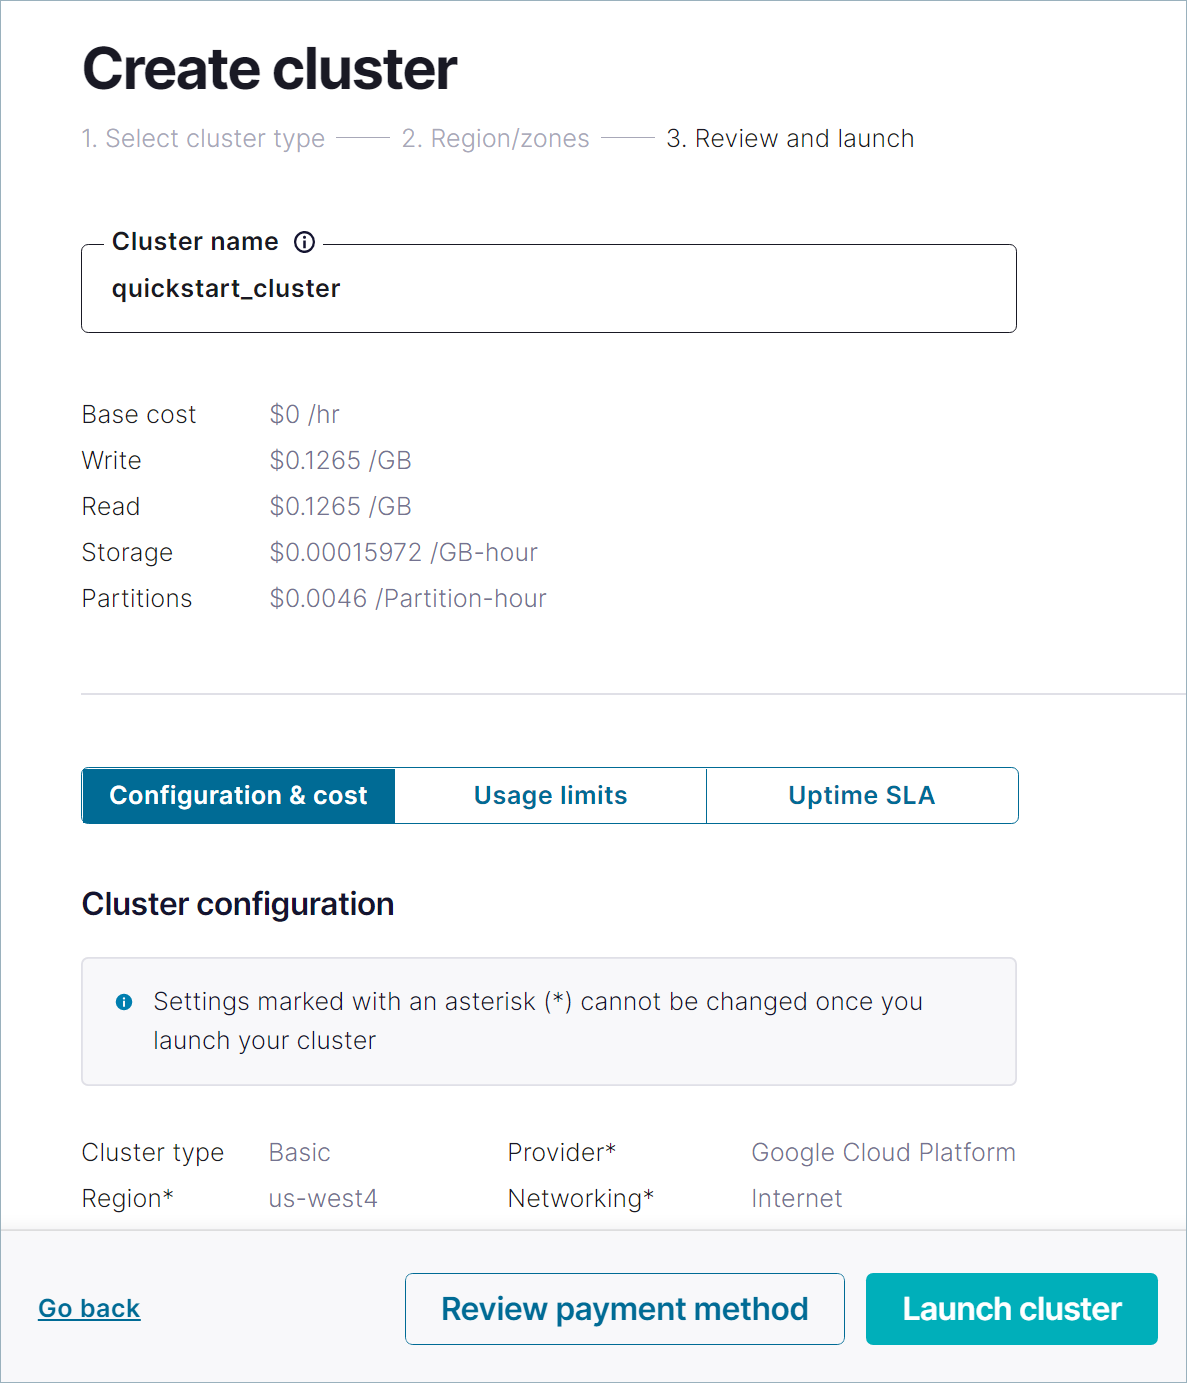
Finish the configuration and then click Launch cluster.
Add a topic
Create a topic in the cluster for events that will be produced and delivered by Pismo.
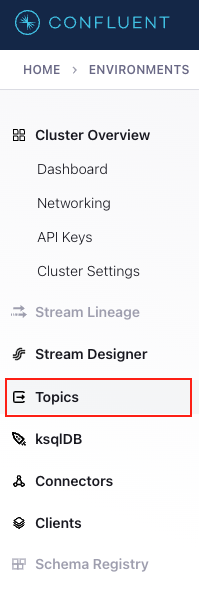
- In the sidebar, click Topics.
- Create a topic and enter a topic name.
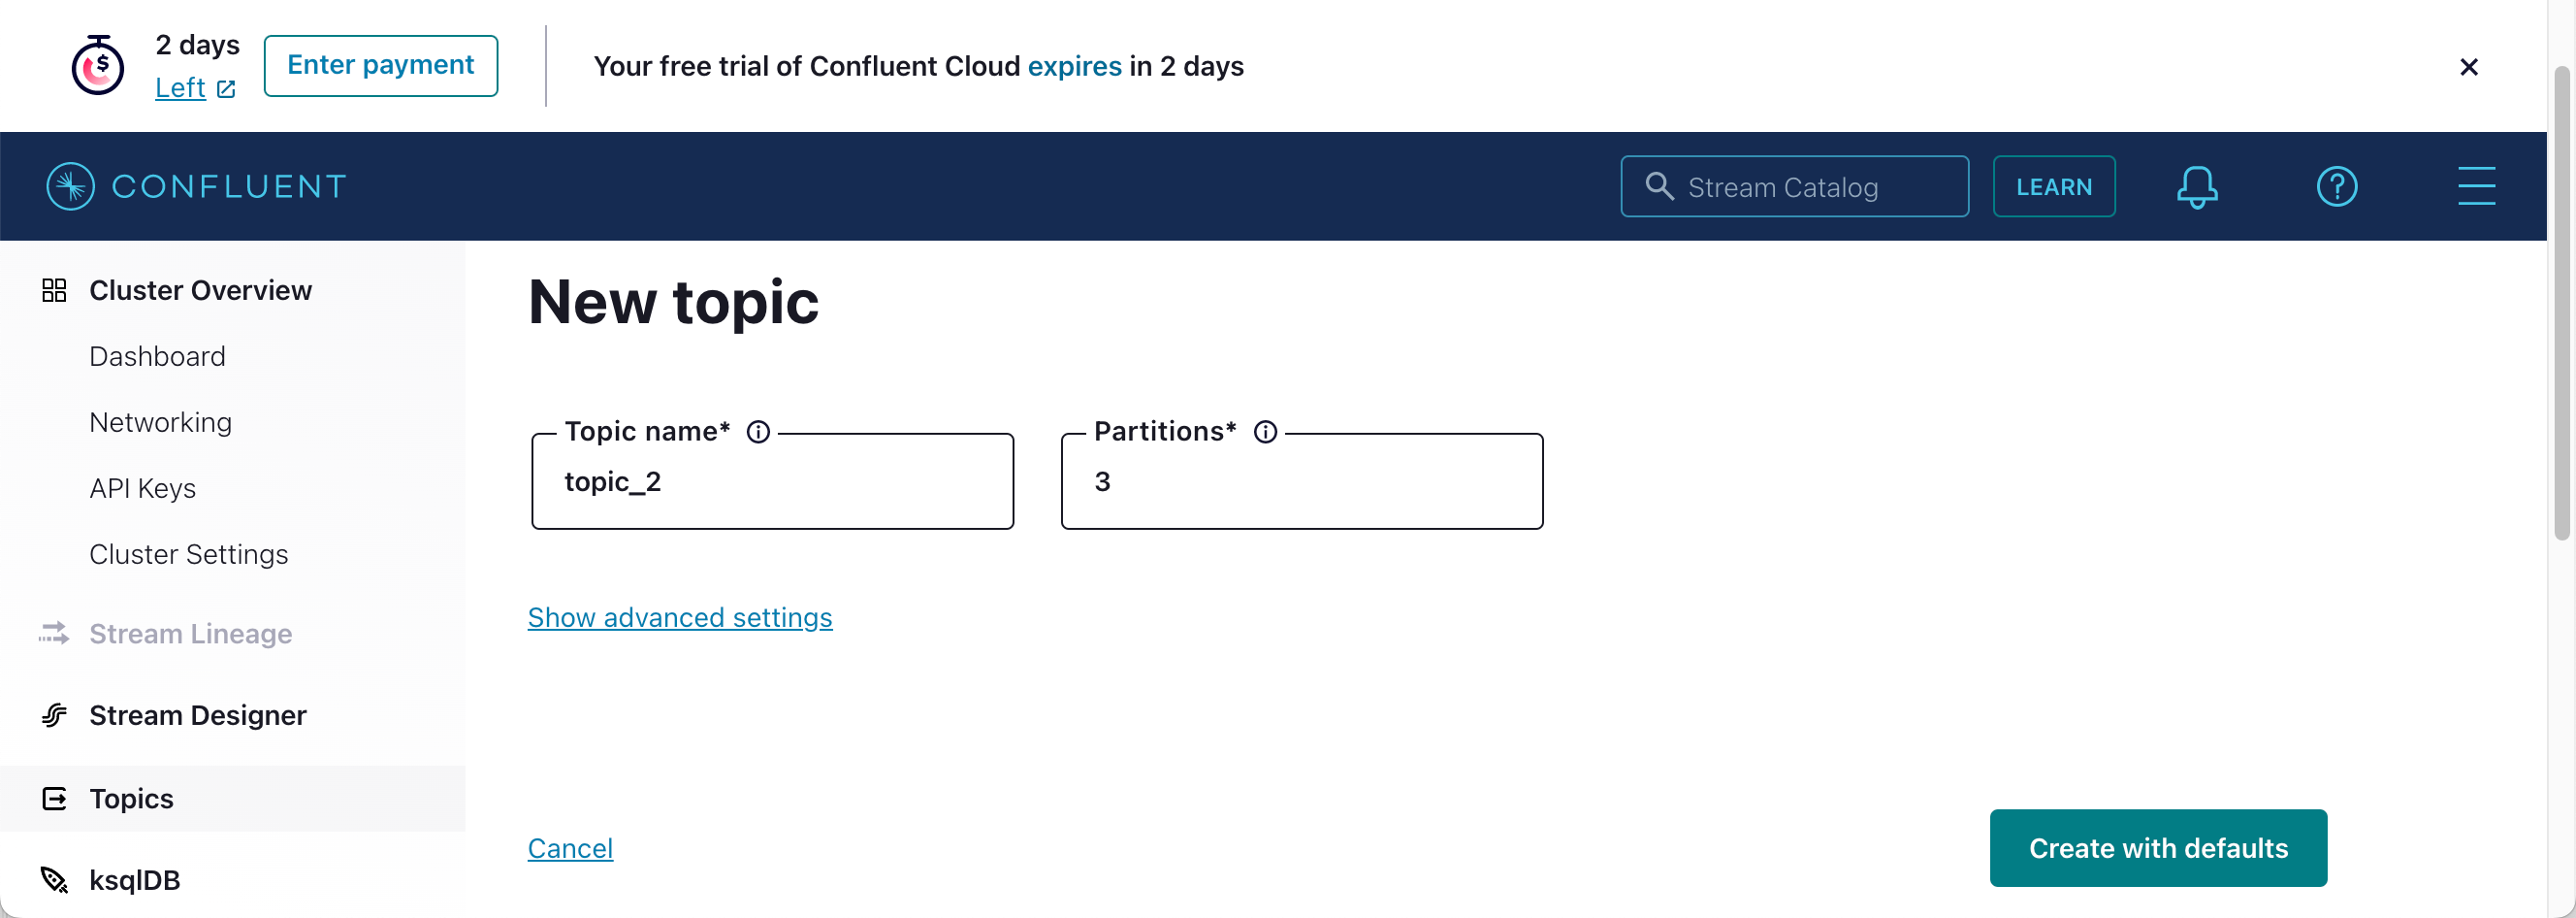
- Click Create with defaults.
Create API key
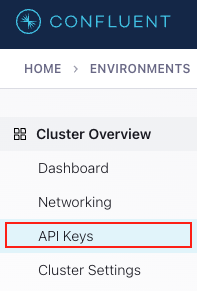
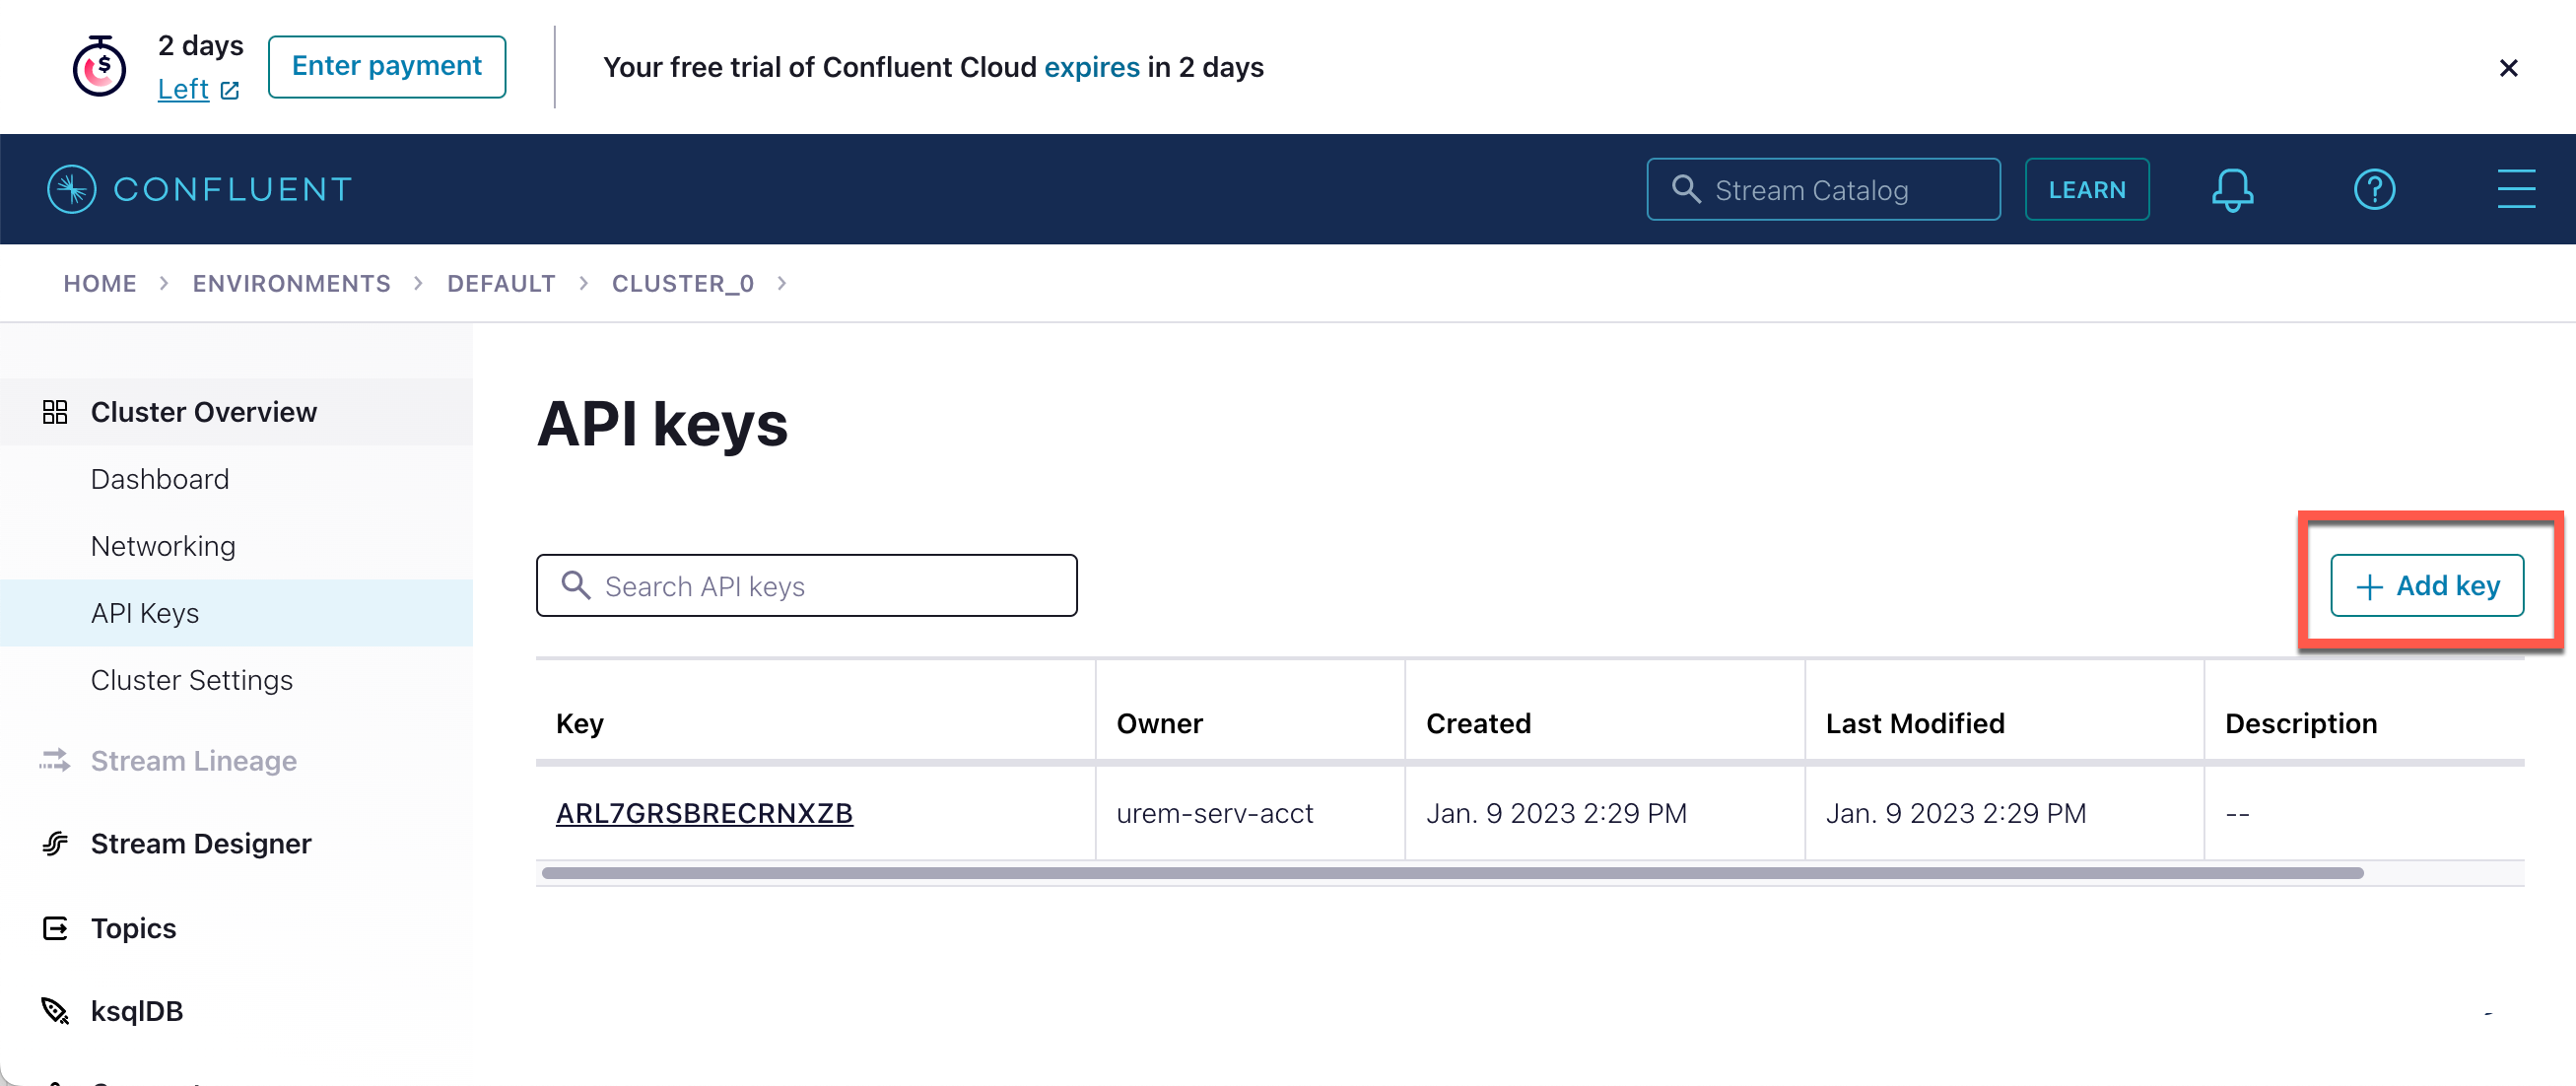
- In the sidebar, click API Keys.
- Click the Add Key button.
- Click Granular Access and then click Next.

- Click the Topic tab.
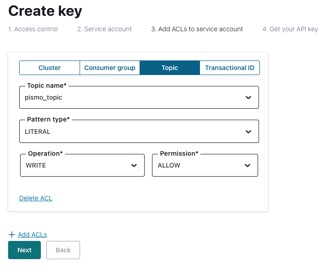
- Do the following:
- In the Topic name field, enter the name of the topic you created.
- In the Pattern type field, select LITERAL.
- In the Operation field, select WRITE.
- In the Permission field, select ALLOW.
- Click Next.
- Download and take note of the API Key and Secret.
- Contact your Pismo representative to provide:
- Topic name
- API key (for example, E2ERBNBA7OUI6FMA)
- API secret (for example, I5RV95UHc1kpkV4BMjWWsoJ+WtBoUDLvhseqKuvw8/cvge2uEoVy4lJkNcqt4I6w)
- Bootstrap server (for example, pkc-56d1g.eastus.azure.confluent.cloud:9092)
Pismo uses this info to set up event delivery to the cluster you have created.
Updated 4 months ago
Did this page help you?