Manage users
Pismo Control Center enables you to easily create and manage users on the Pismo platform. You must have the User-manager role to change user email addresses using Control Center. For more information, see Access profiles and roles.
Create a user
To create a user:
-
In the main menu, click User management > Users.
-
On the User management screen, click Create user.
-
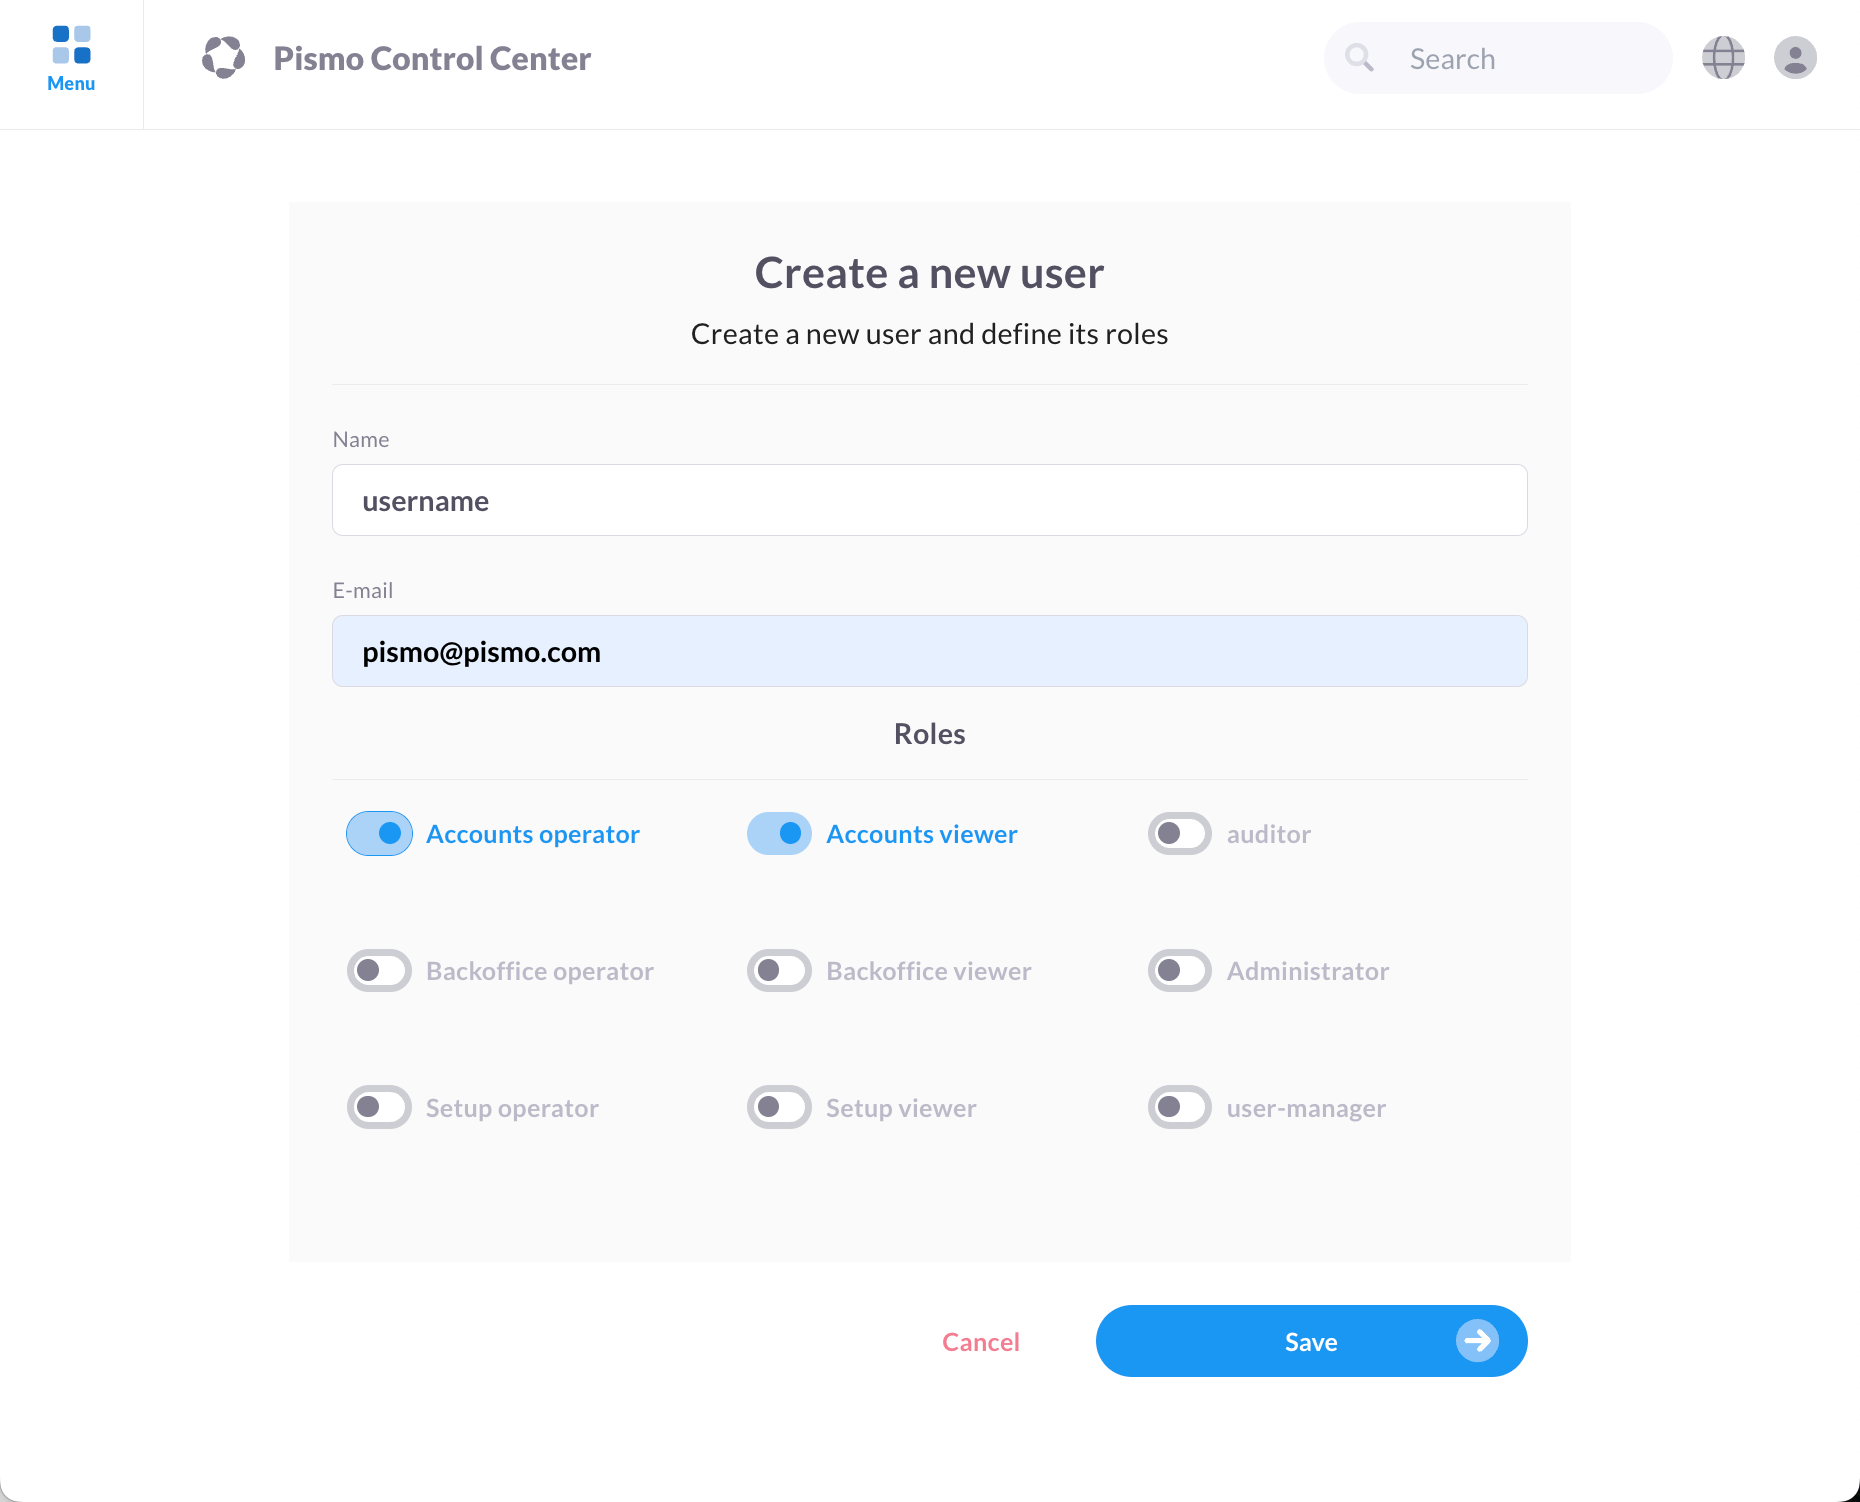
On the Create a new user screen, do the following:
- Enter the user's name and email address in their respective fields.
- In the Permissions section, click the Access type sliders to define the roles that you want the user to have. For more information, see Access profiles and roles.

-
Click Save.
User confirmation by email required
When you create a user account, the platform sends a confirmation link to the email address you specified. The invitation link expires after seven days.
The new account remains inactive and hidden until the recipient clicks the link and completes the confirmation step.
Edit a user
To edit a user:
-
On the main menu, click User management > Users.
-
In the Search field, type the Name or Mail fields. (Optionally, you can filter by access type as well.)
-
Click the Search button. Scroll down to the Registered users section, and then click the Edit icon next to the user's name.
-
On the Edit user page, make any necessary changes, and then click Save.
Updated about 1 month ago